More suspension work, car shows and the Cortina Nationals

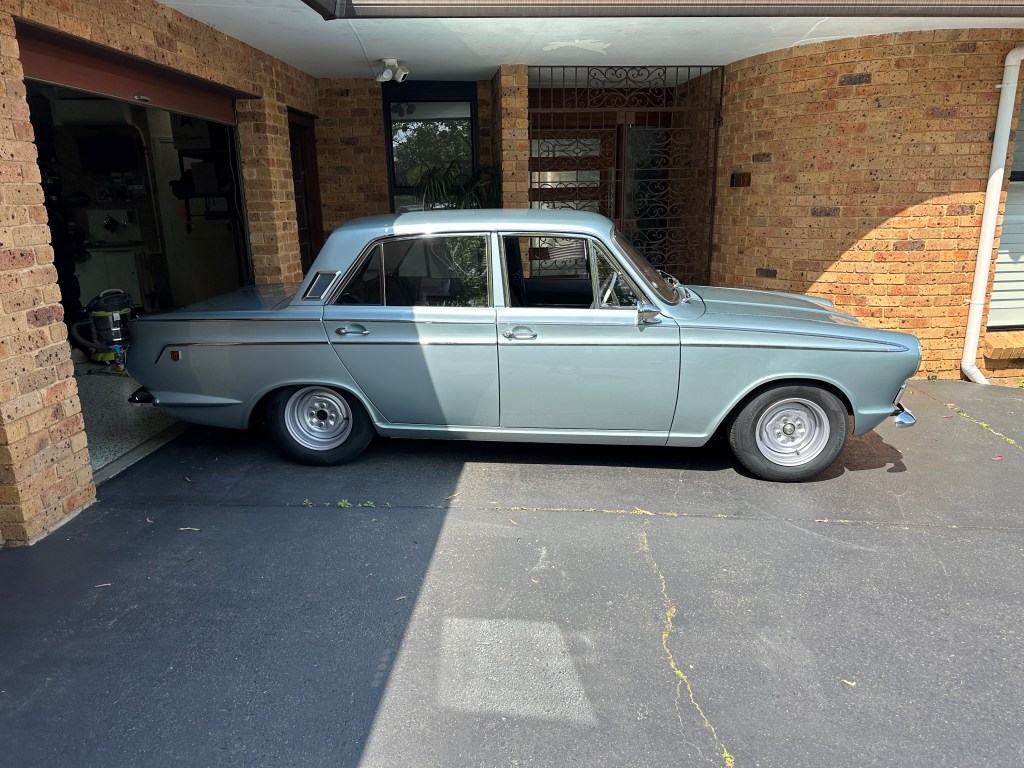
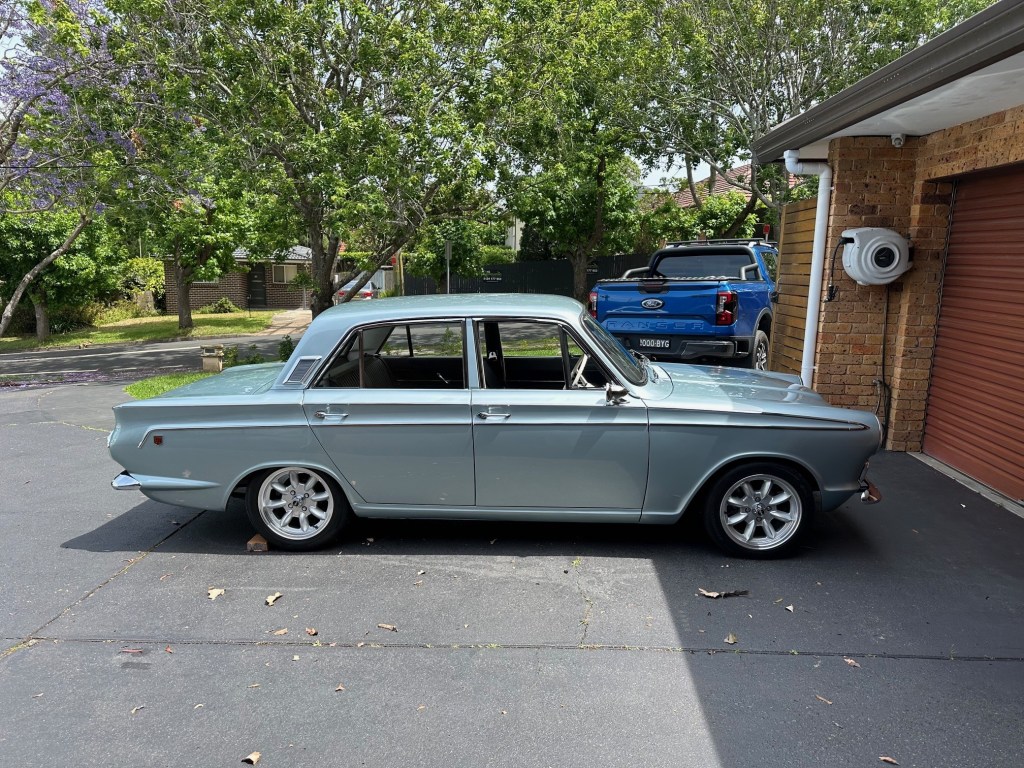
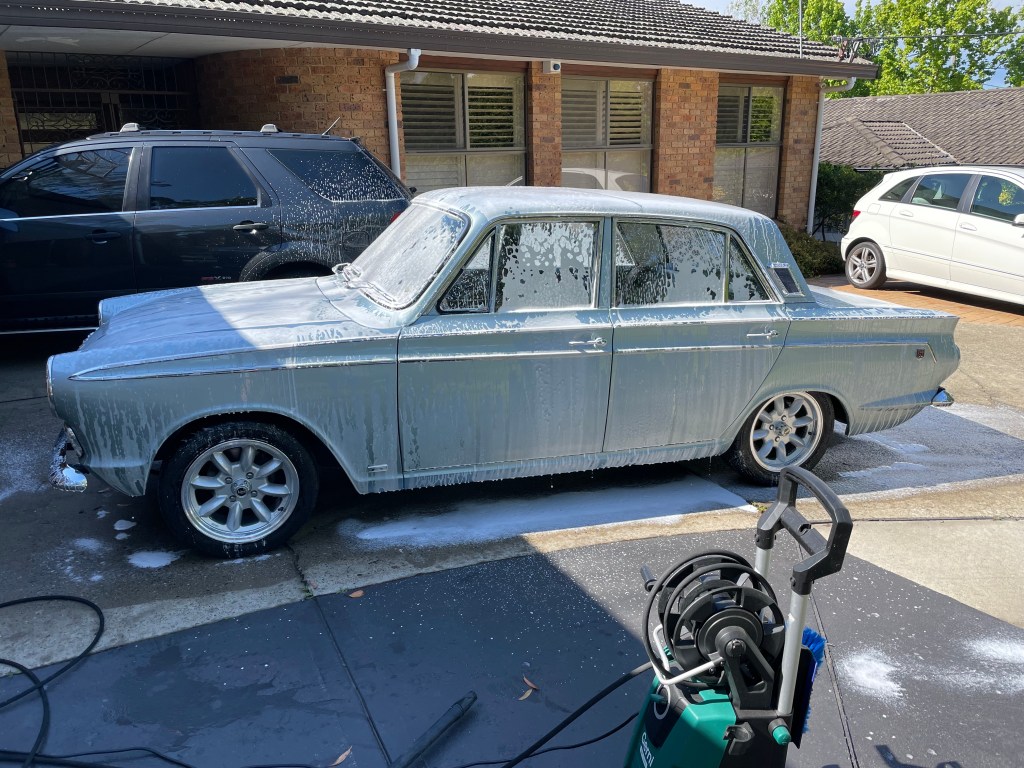
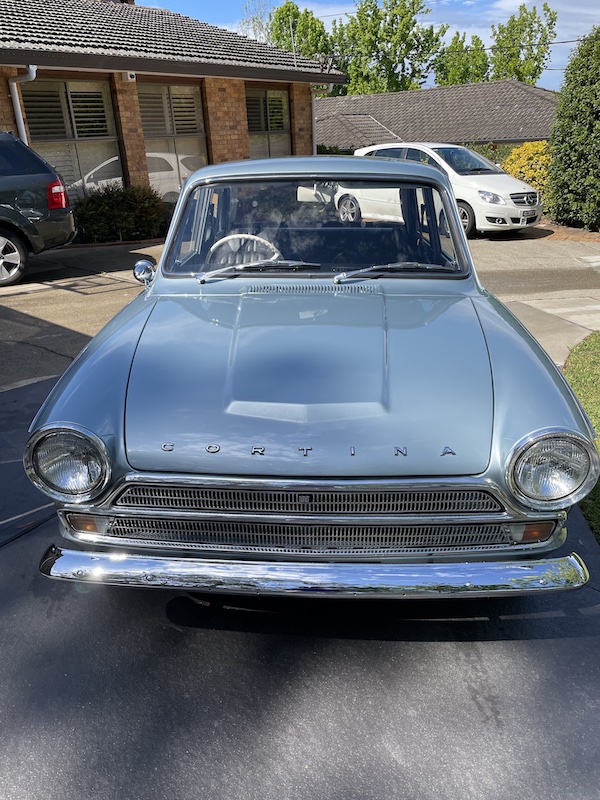
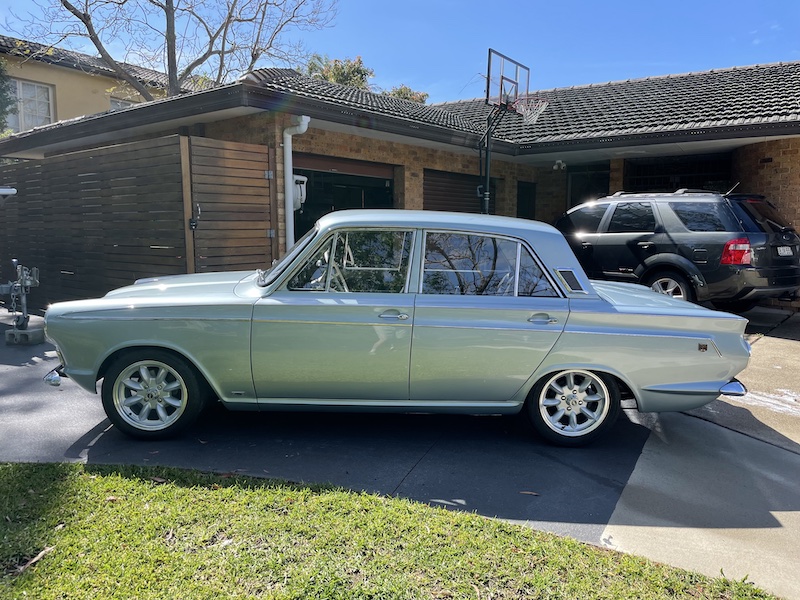
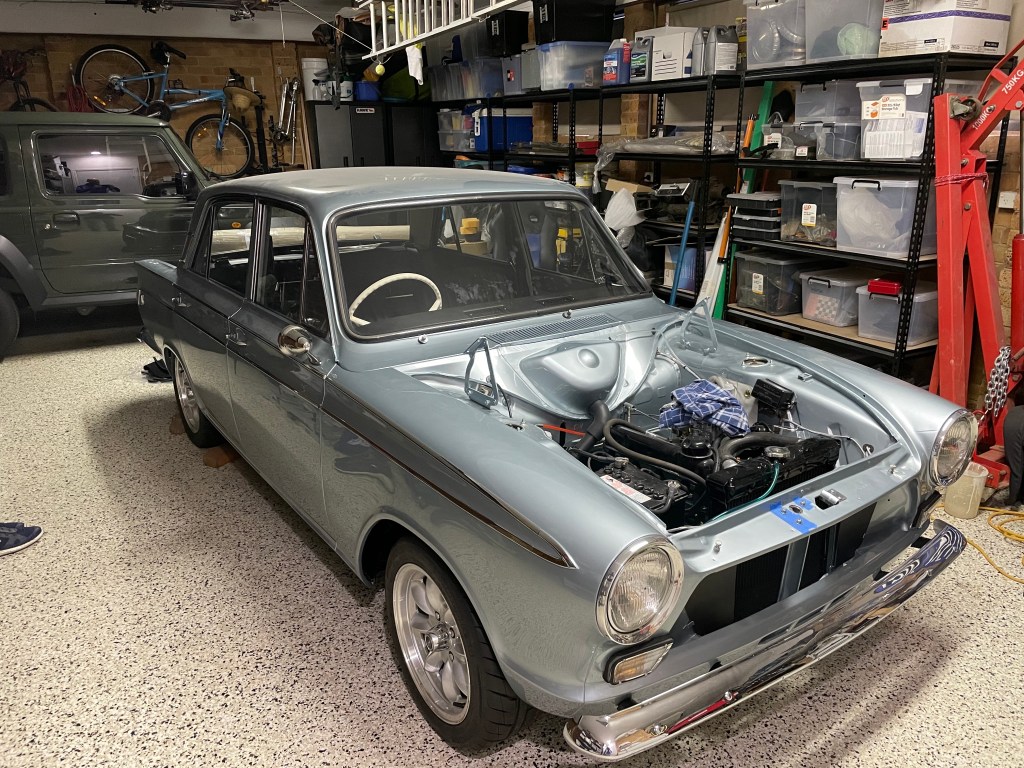
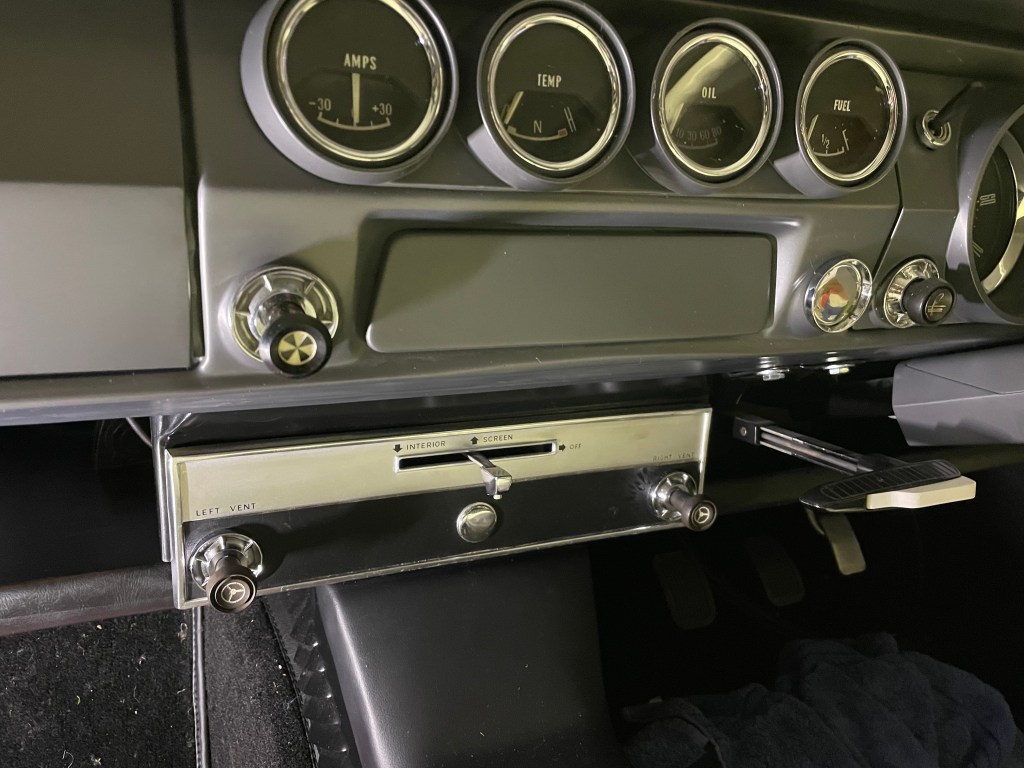
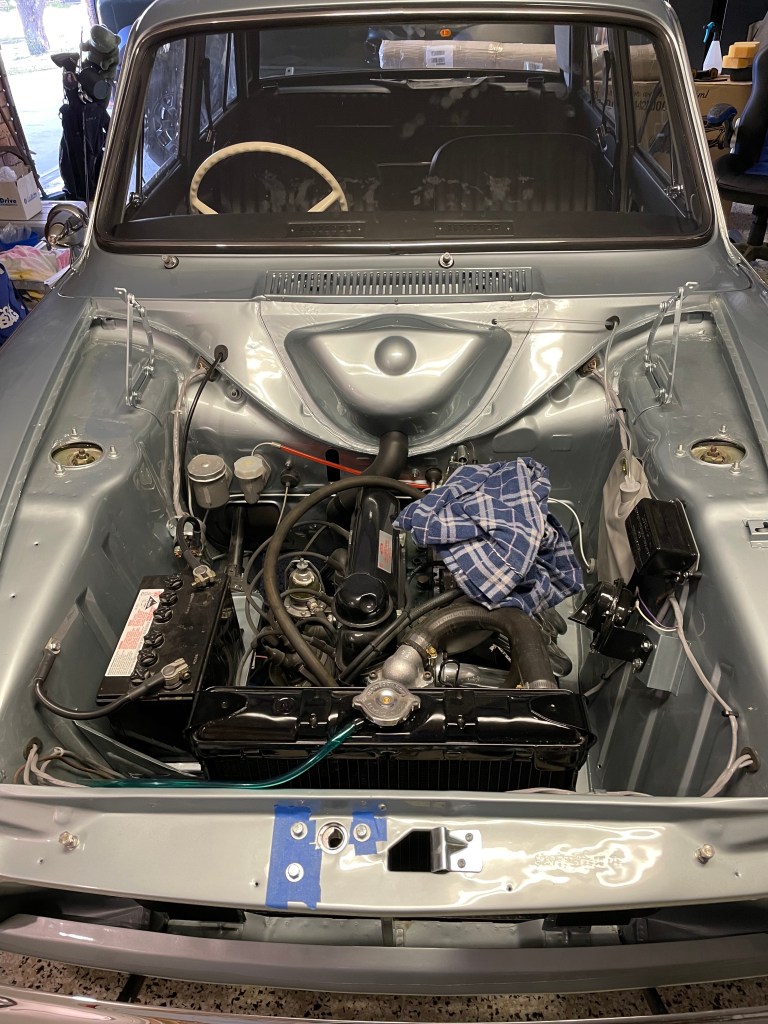
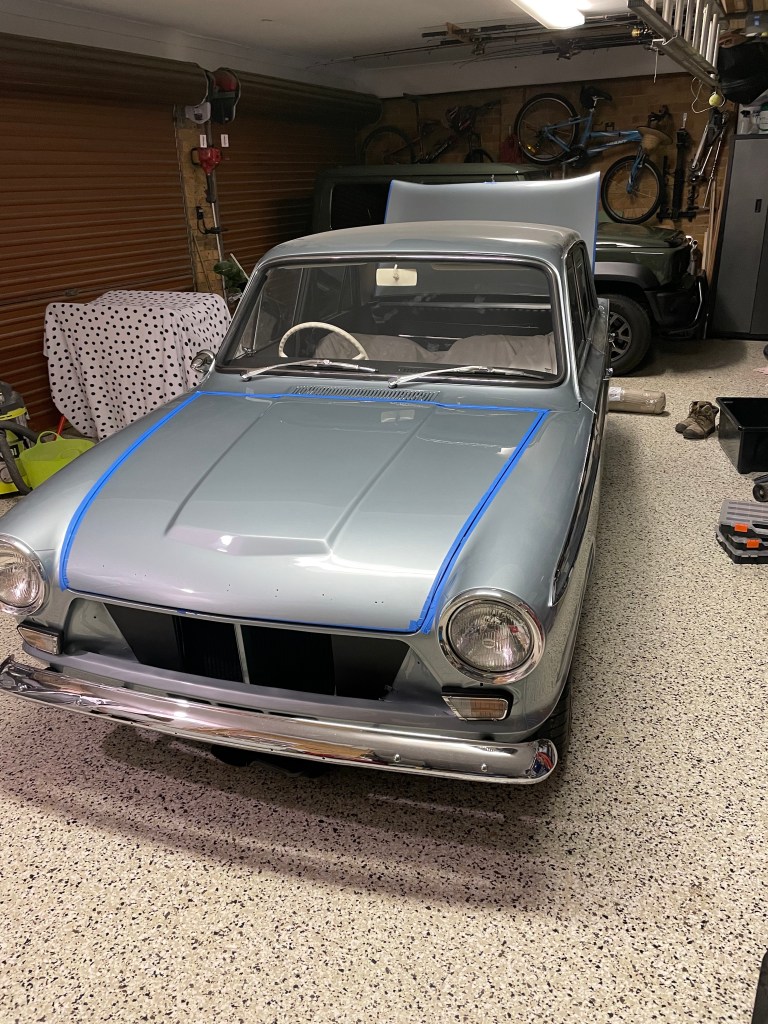
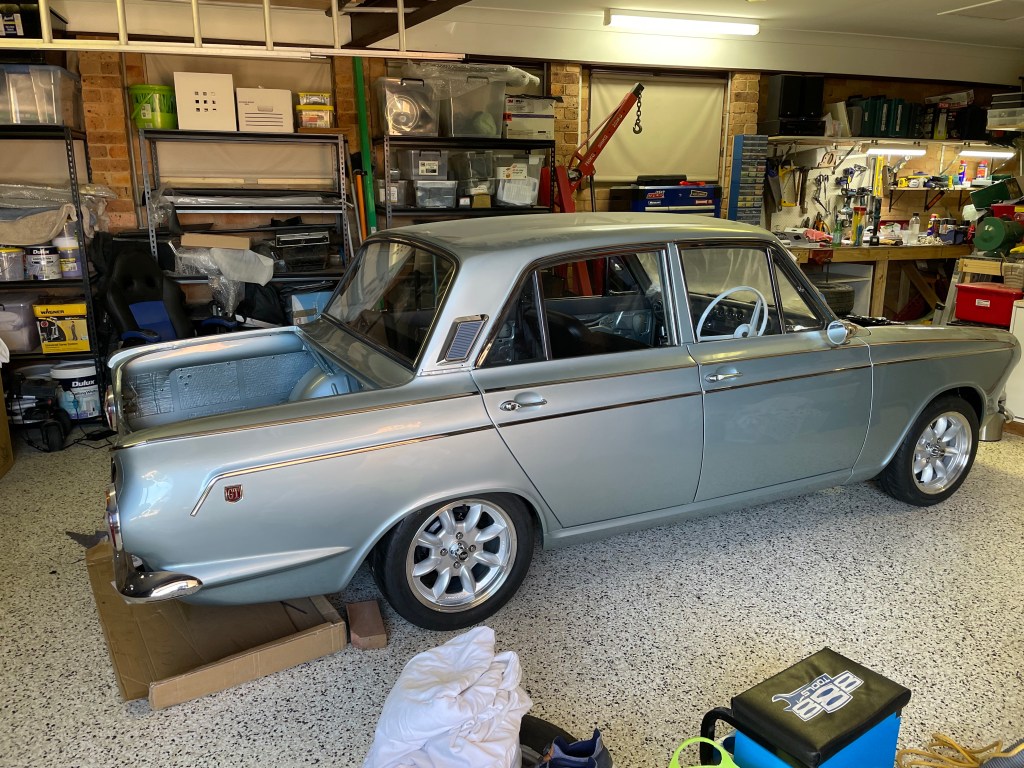
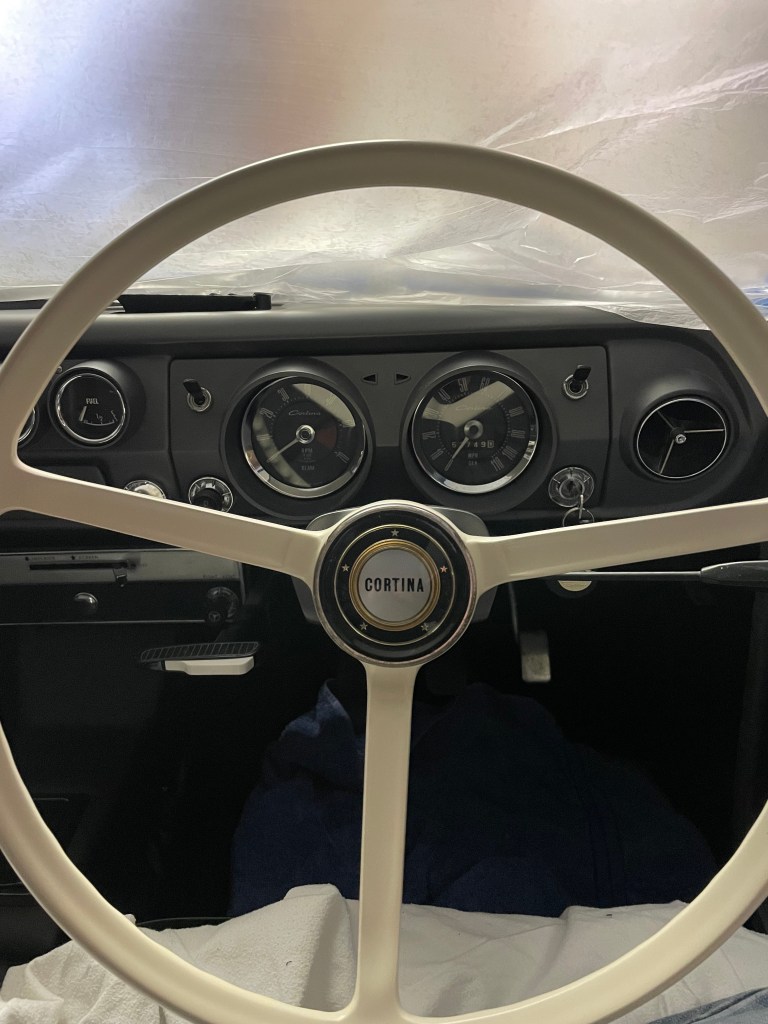
Been a while since I posted an update and a little bit has happened since then. On the car front, last time I posted about the Spiyda solid state voltage stabiliser that had improved the accuracy of my gauges. Unfortunately, after a few months it literally disintegrated. I don’t think it handled the bumps very well. This was only a few days before I had a decent drive planned so I went through my old parts and decided to fit up the original voltage stabiliser and to my surprise this worked better than the reproduction and showed the same readings as the Spiyda! For a little more comfortable drive around town I refurbished a set of 13 x 6 steel wheels that I had and fitted these up with 185/70/13 tyres. This has improved the ride out of sight and is now my go to for long country drives.

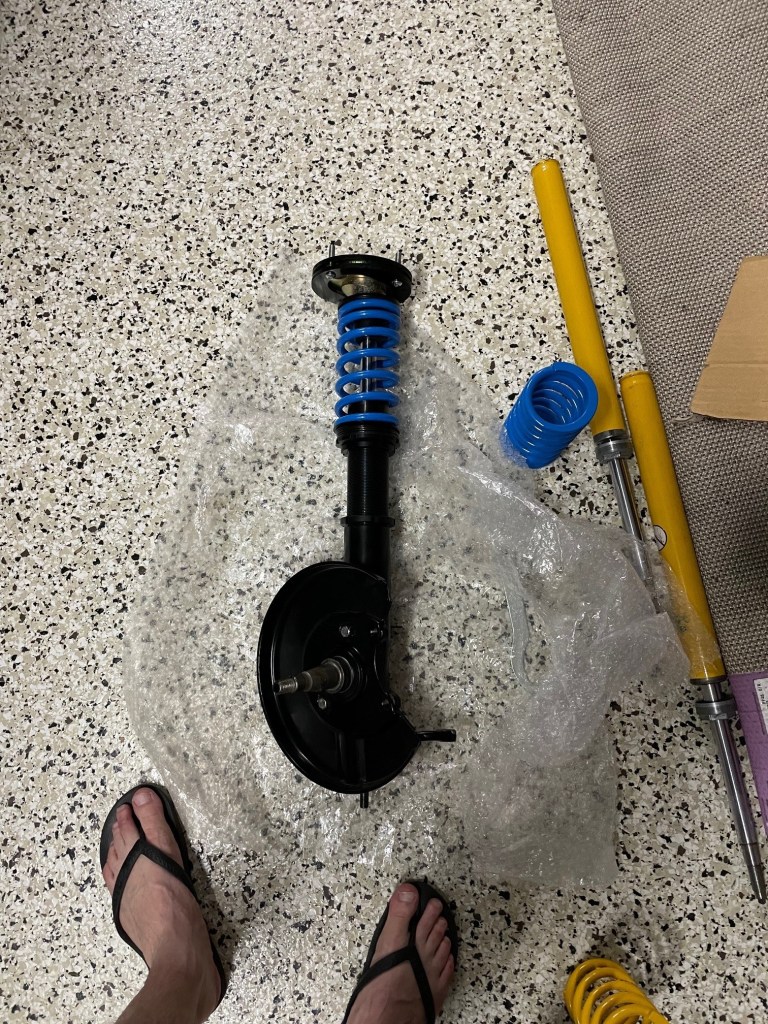
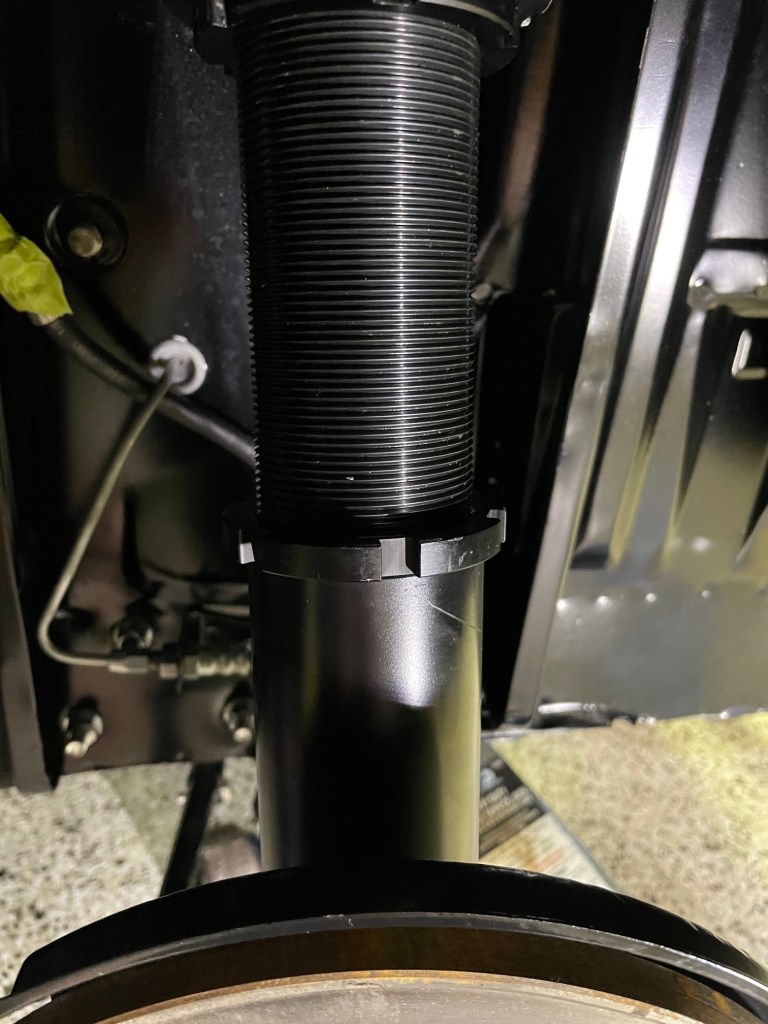
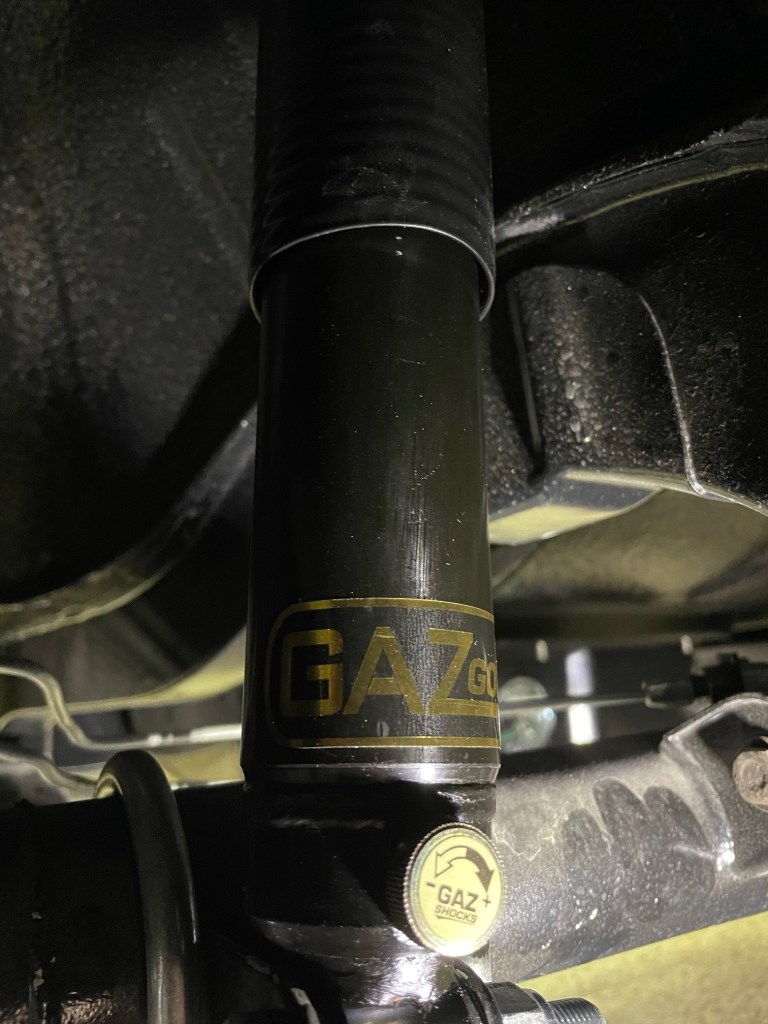
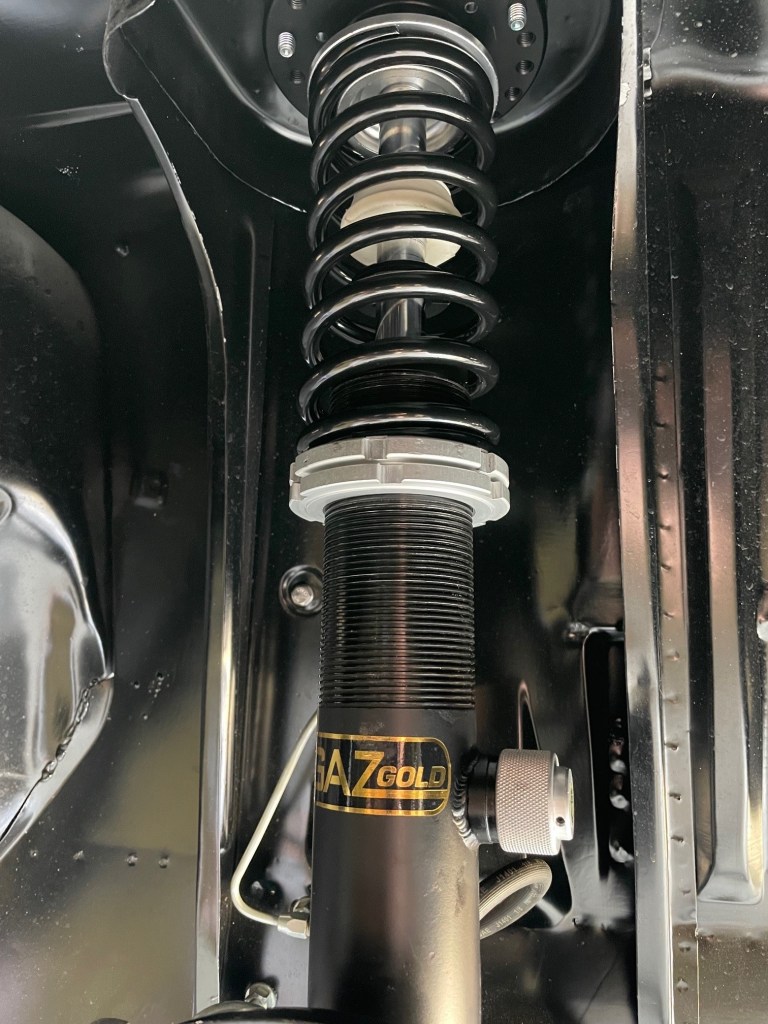
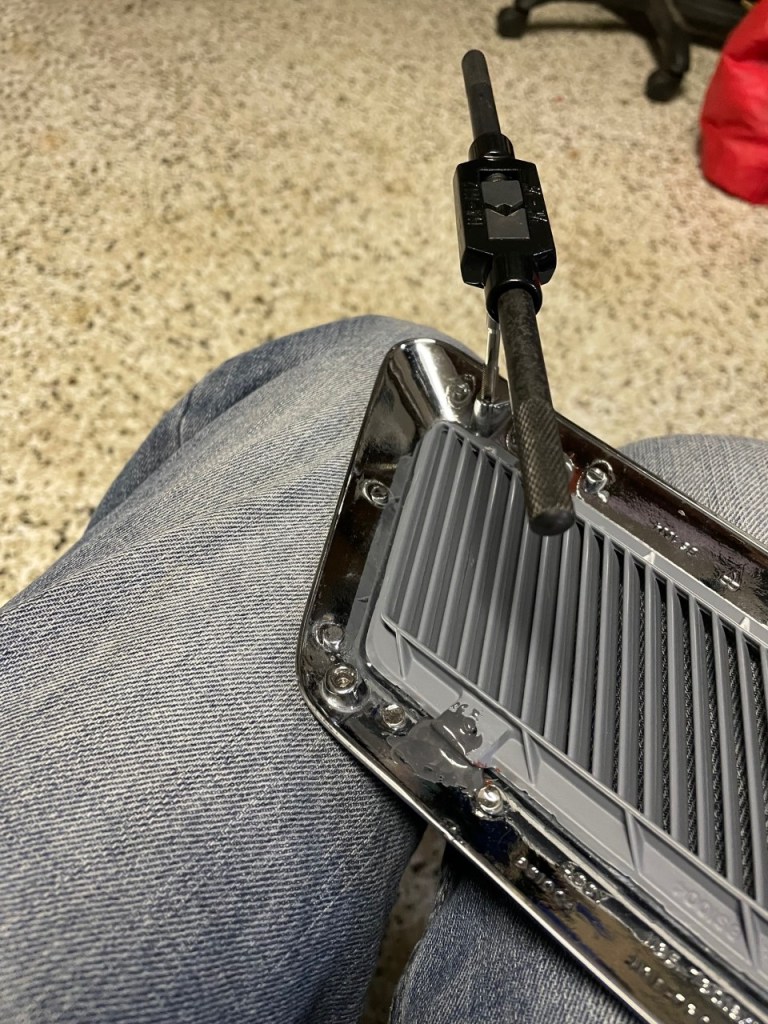
To try and address my suspension issues, I had GAZ build a set of longer pistons as my existing ones appear to be topping out and I had too much preload on the springs. They are apparently an easy job to fit up but someone must have a different definition of easy to me. A special tool had to be fabricated to remove them from the shocks and then it took two of us with lots of shock oil and patience to get them back together, primed and working again. They now work a lot better, but the knock is still there. Next stop will be different strut tops as that is all that’s left to try!

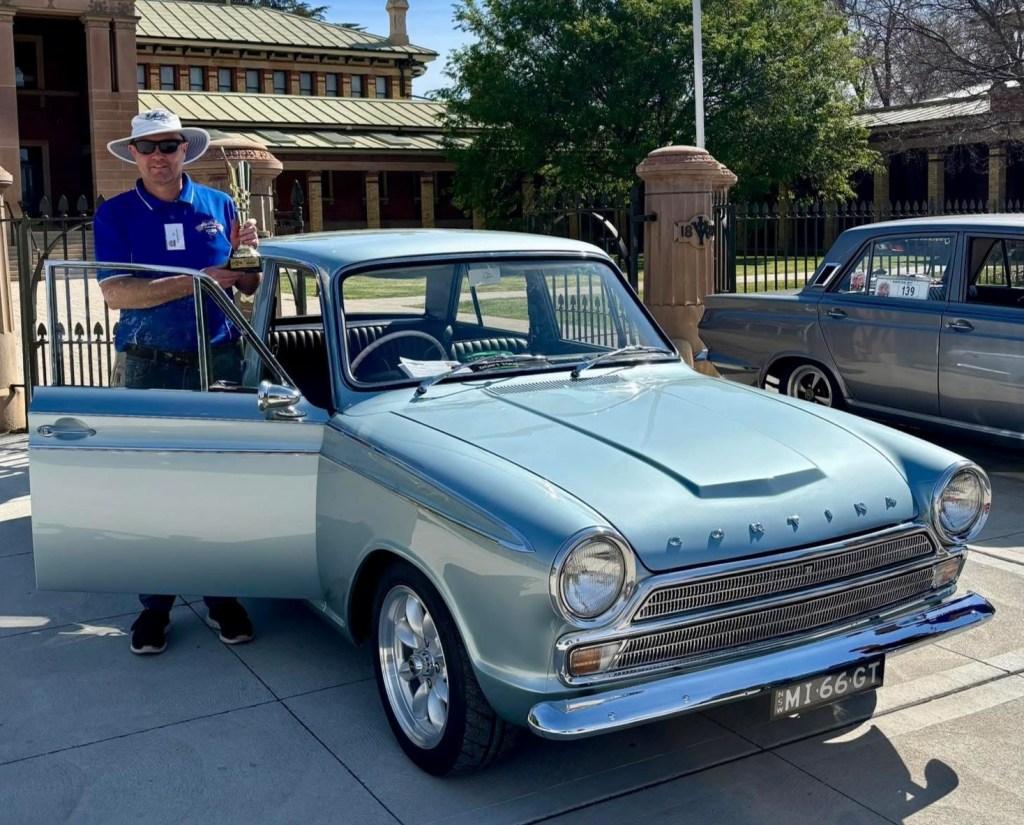
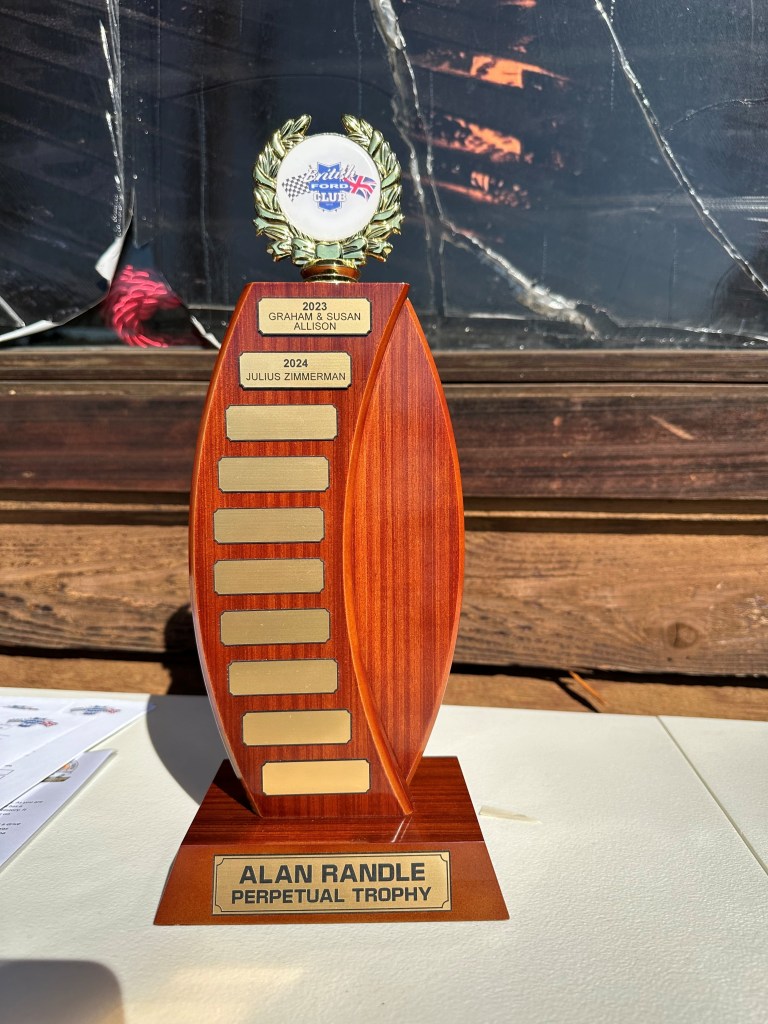
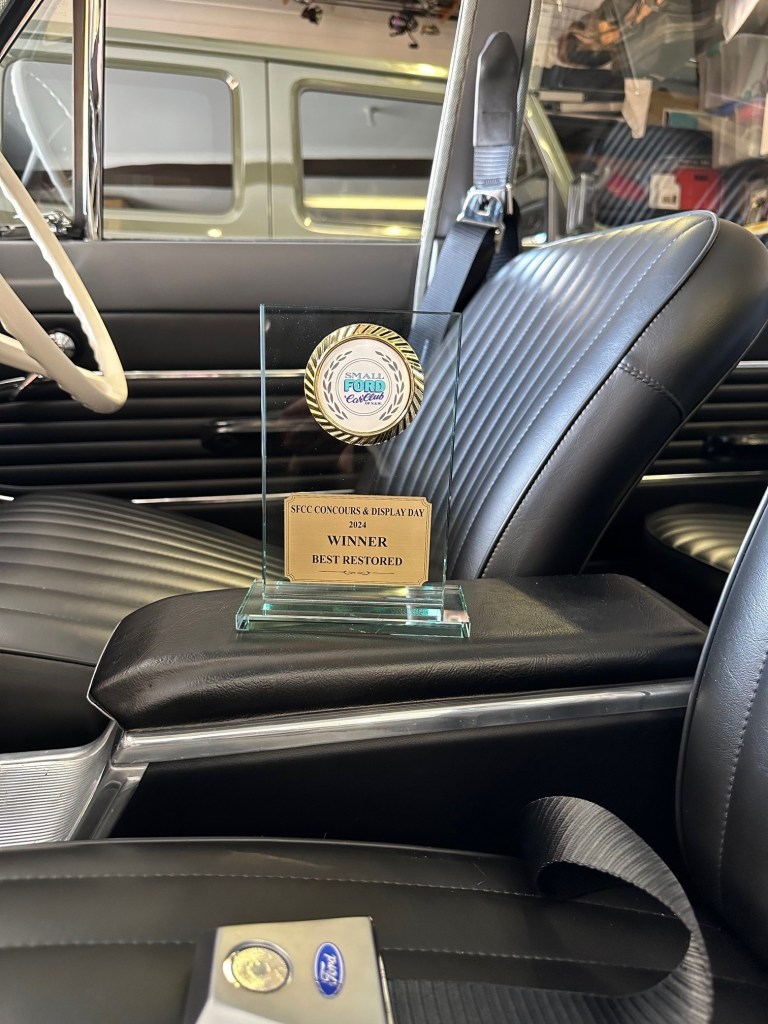
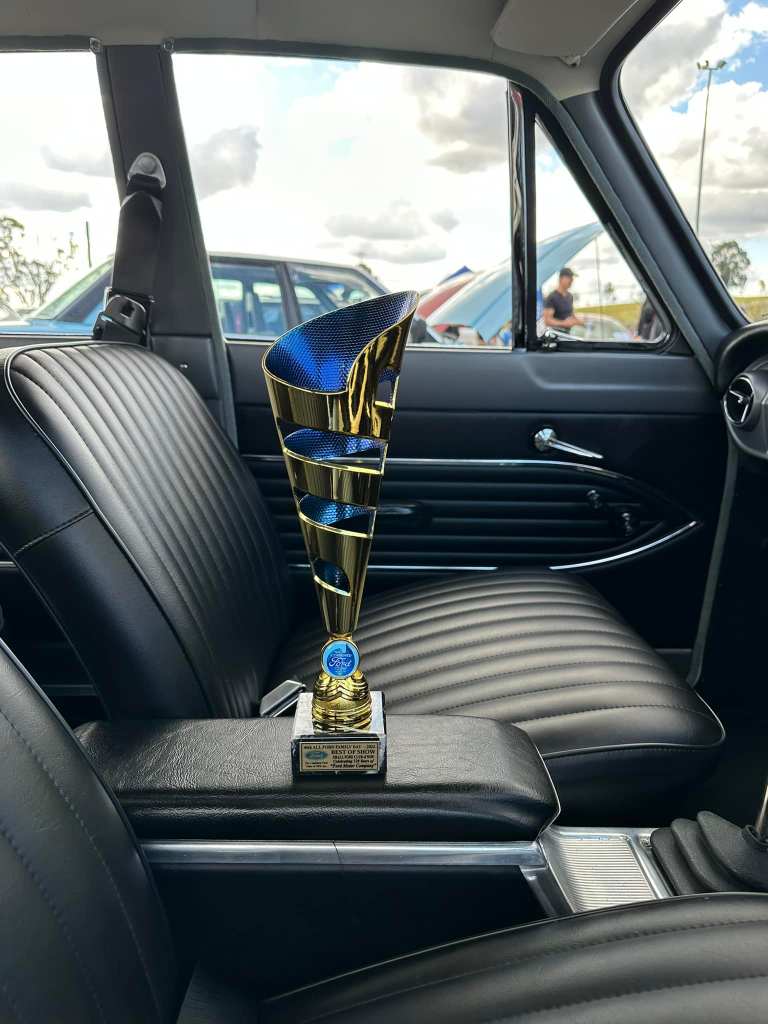
In May I attended the my car club, the British Ford Club of NSW, car show at the Ettamogah Hotel and I was thrilled to win the Allan Randle Perpetual Trophy for best car. This is a real honour and next year I will get to select the winner.

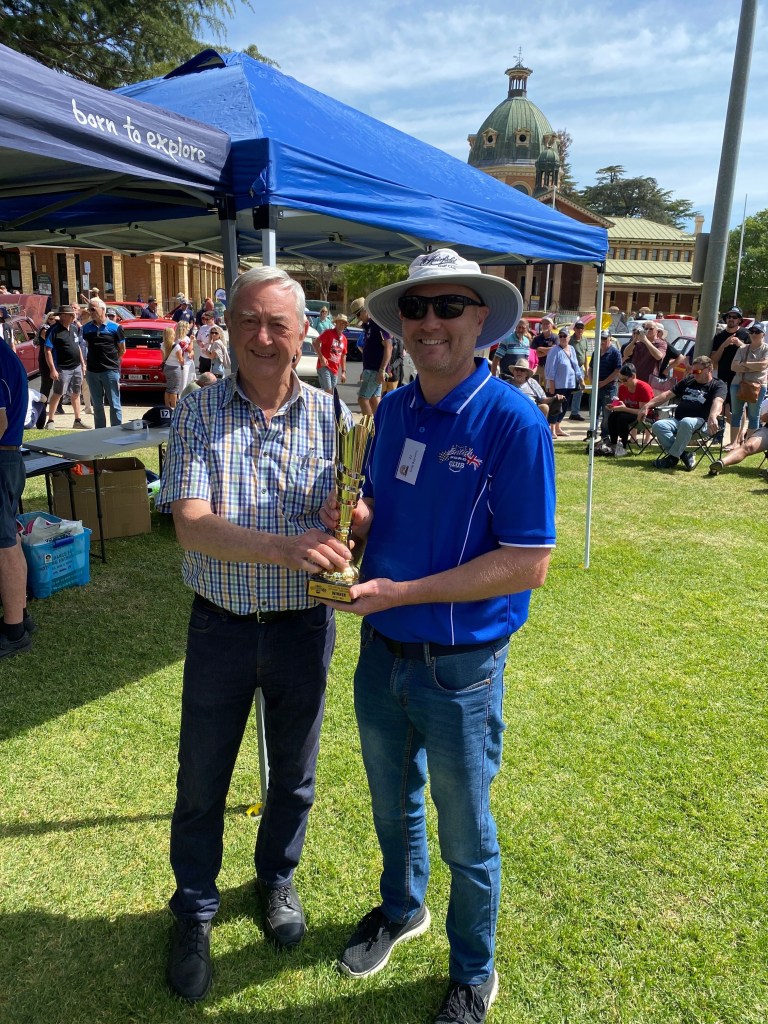
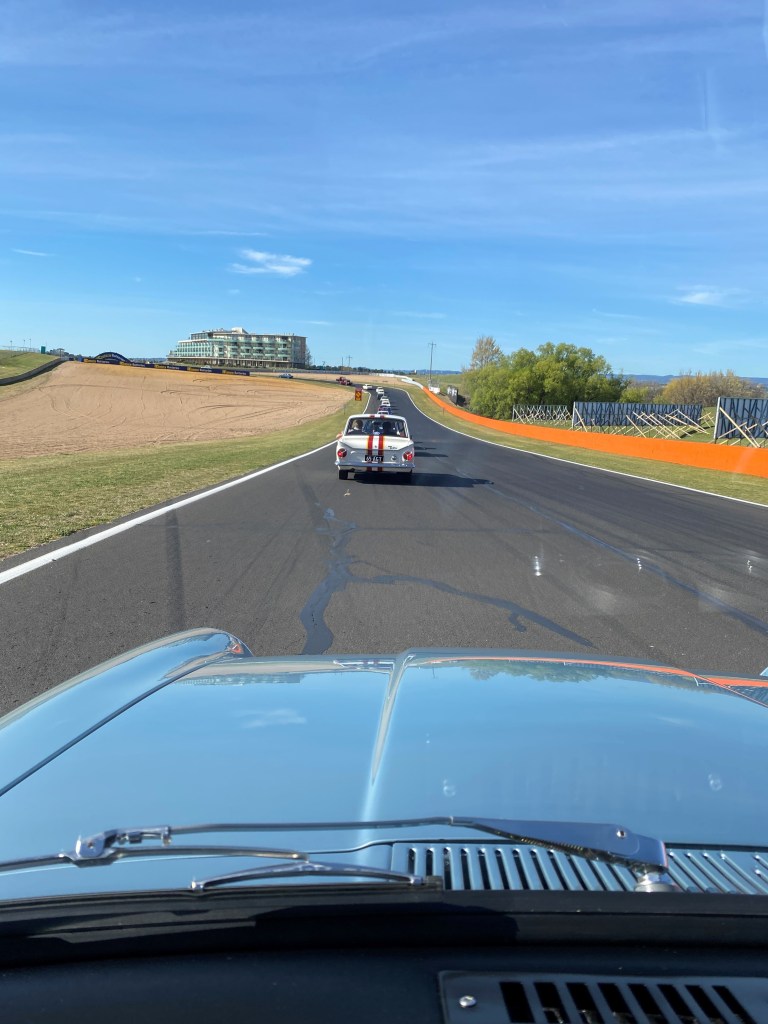
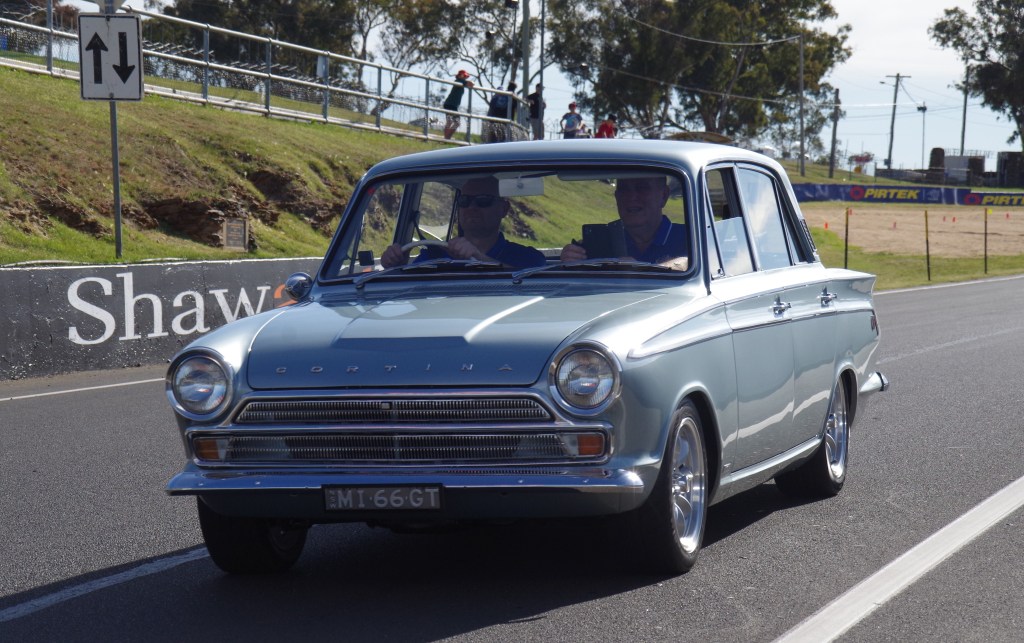
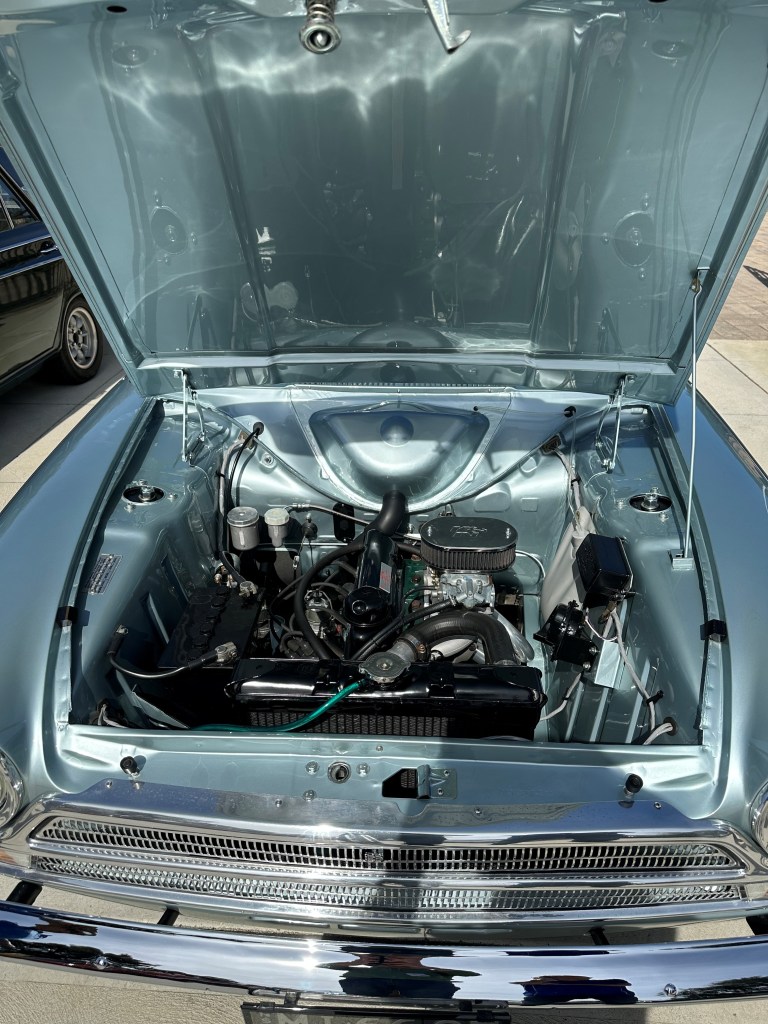
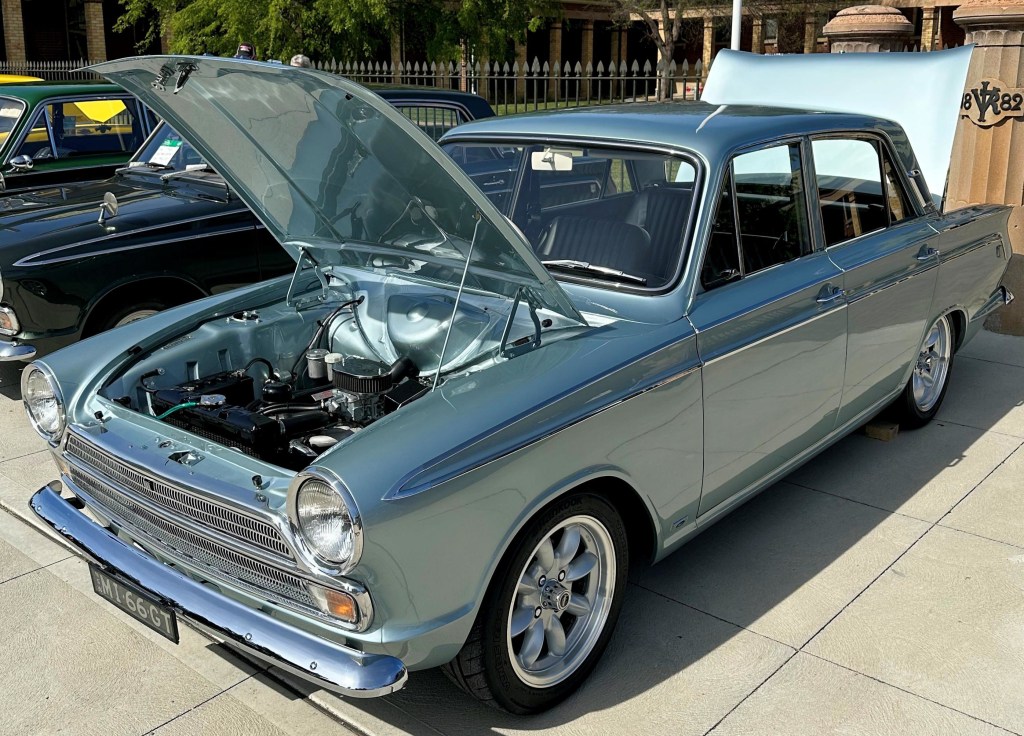
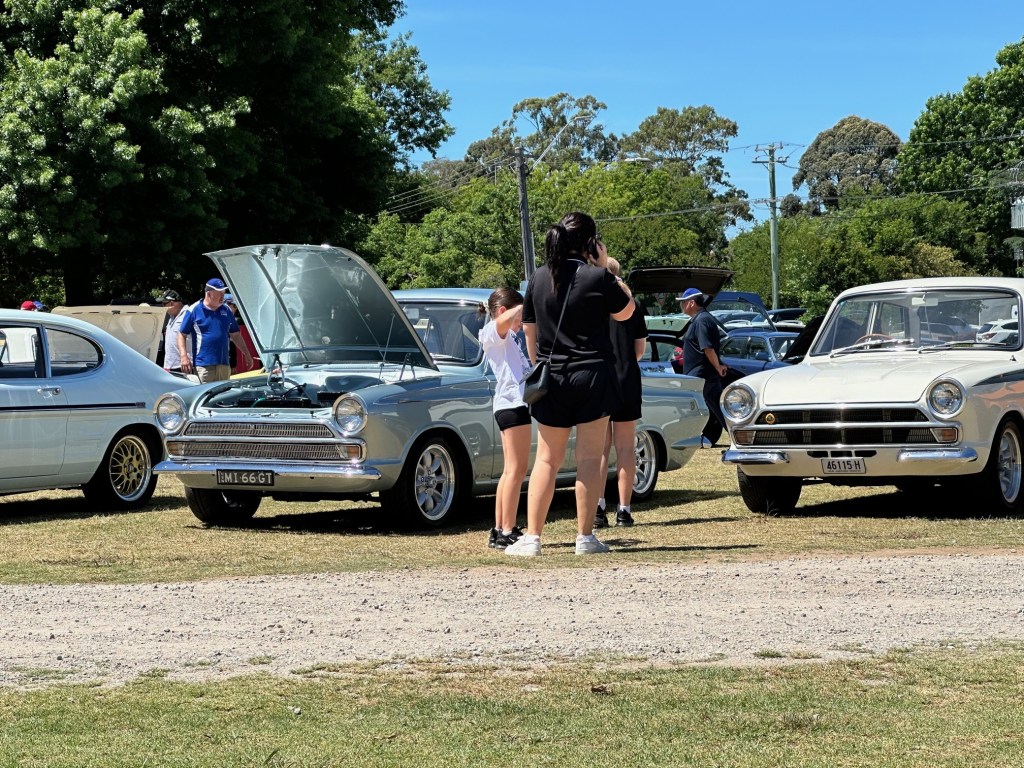
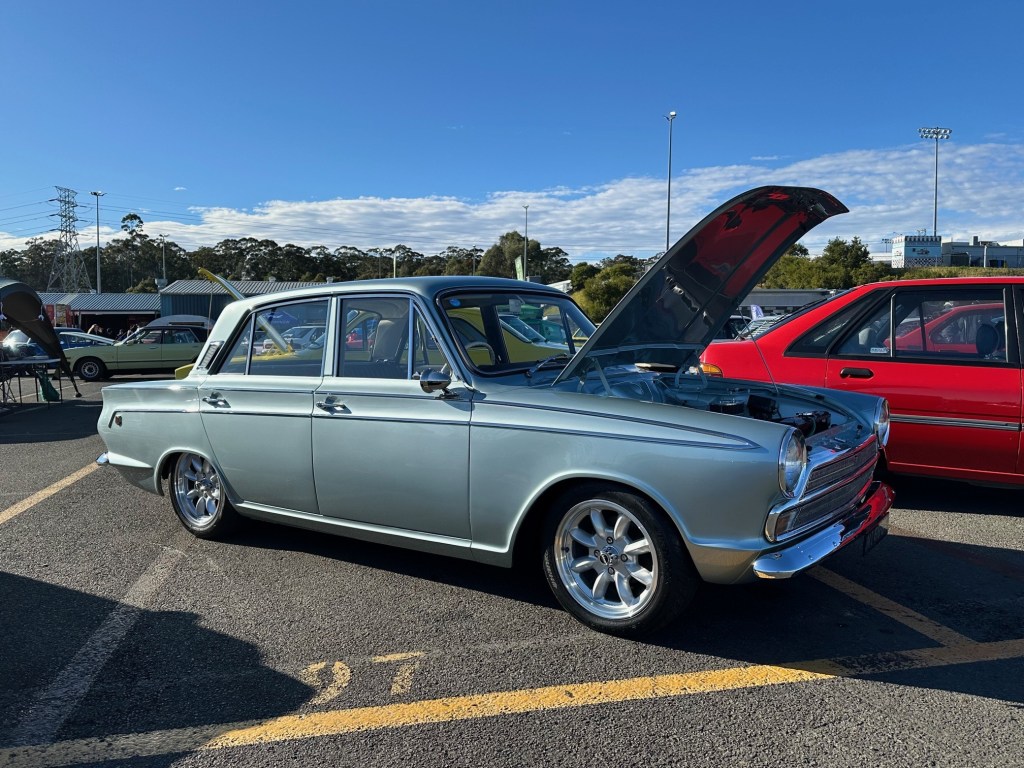
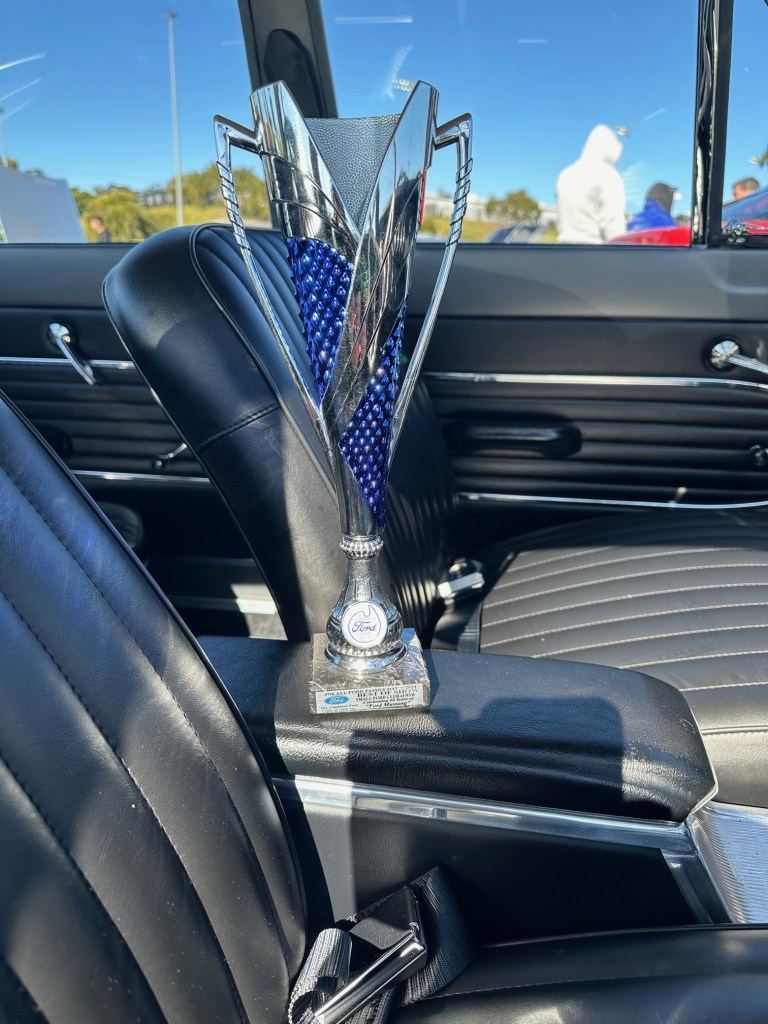
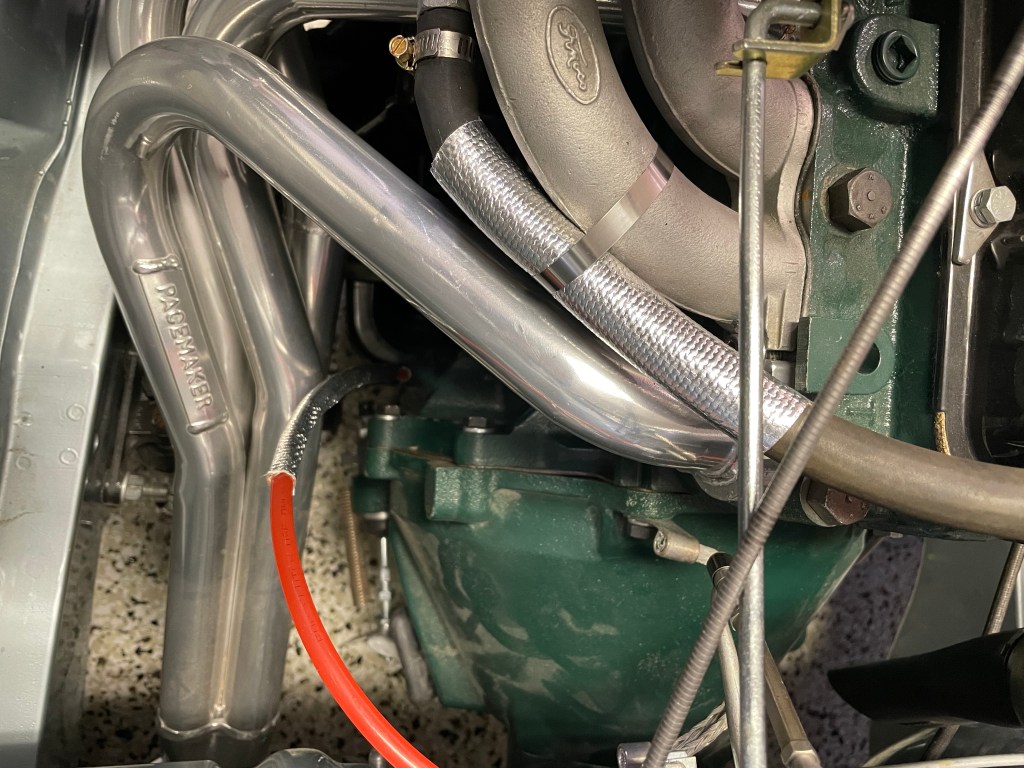
In October I attended the 3rd Cortina Nationals in Bathurst. Due to my job I couldn’t commit to attending until the week before but I registered, prepared the car and hoped for the best, which thankfully the week before I got the nod that I could go. While a lot of people trailered their car to the show, I decided to drive with Dad following me in my ute loaded with spares and cleaning products etc. Thankfully the weather was good, and we set off early. The drive was largely uneventful, albeit my car making a weird knocking sound that I chased the entire weekend. While annoying, it didn’t appear to affect performance, and I finally diagnosed it when I got home as a couple of loose exhaust manifold ones. The ones in the middle that are very difficult to get to on the GT. The entire weekend was fantastic and so well organised by my car club, the British Ford Club of NSW. Highlights of the weekend included a gala dinner on the Saturday Night and 170 Cortinas doing parade laps around Mt Panorama. We completely filled the circuit with Cortinas. On the Sunday we took over an entire street in Bathurst for the Show n Shine with over 230 cars on display. The weather was spectacular, and it was an amazing sight to see so many Cortinas in the one place. I was absolutely blown away when my car received the trophy for best Mk1 Cortina. What an absolute honour. As always, there’s still a list of things to work on but I’m slowly getting the car to drive a little nicer.

My car won best Mk1 at the Cortina Nationals
Posted in Car Show, Suspension, Wheels | Tagged , , , | 2 Comments

More suspension work and some electrical

Again, long time between updates but a few more projects undertaken. The rear springs did come out again and have been reset a little higher. Definite improvement. Unfortunately, I have an annoying clunking sound over bumps in the front passenger side suspension that I am yet to diagnose. It could be in the coilovers and I am thinking of putting a small helper spring in to see if that fixes it. I went over every nut, bolt and bush but it’s so far eluded me. Next stop might to try and gopro it.

Along with playing with suspension I have also been working through some electrical gremlins. My fuel gauge has never worked properly and my temperature always seemed suspiciously low. I decided to do away with the original style voltage stabiliser and replace it with a Solid State instrument voltage stabilizer from Spiyda in the UK. This was a simple job that required splicing into the correct wires on the loom. The good news is that my temperature gauge now works and while the fuel gauge needle now moves a little bit, it still doesn’t work properly. I have bought another device that will allow me to match the impedance on the sender to the gauge and will fit that one day when I get around to it. The hardest thing about that job will be setting the levels, so I will need to drain the tank to do it properly.

My tacho has been converted to work with negative earth but it was always a bit unreliable due to the electronic ignition. To fix this I purchased a kit to convert the original tacho to an RCV unit that would work with the electronic ignition. This kit requires you to remove the old electronics from the back of the tacho and fit a new modern circuit board. You the calibrate the tacho and install it into the car. I chose to use a spare good condition tacho for the conversion and it proved to be a pretty straightforward job. Really the only challenging part was working out where to run the new wire directly to the coil. As I didn’t want to mess up my original looking engine bay too much I ended up running it tucked up under the drivers front guard. Again, I neglected to take photos but if anyone is interested in the Spyda gear, here is a link to their website – https://spiyda.com/

I did get the car out to the Small Ford Concours & Display Day at Camden and was pleased to win Best Restored. I don’t do many shows but it’s always nice when other people recognise the hard work you’ve put in.

Posted in Car Show, Electrical, Suspension | Tagged , , , , | 2 Comments

Coilovers galore

So it’s been a while since I posted an update. In that time I haven’t really done much with the car other than drive it. What I have fettled with is the car’s suspension. The original front suspension setup I had in the car was lowered King Springs and Spax shocks in standard GT struts. While low the stance was higher in the front than the rear and very very stiff due to almost no spring travel. To even out the suspension I had a local supplier to make me up a set of coilovers. At not significant expense my new coilovers turned up and despite looking brilliant they were not a good option at all. The only way to describe them is too low and too stiff. I tried changing to some softer springs but there was no way I was ever going to get the correct ride height with them so they were shelved. Feeling somewhat disillusioned with local service I contacted Gaz in the UK and shortly therafter I had a set of donor sruts heading overseas to be made into a set of their coilovers. At the same time I ordered a set of their rear shocks and some retroford adjustable strut tops. These are soooo much better than the local crap. With everything adjusted up and the car finally sitting nicely I took the car to All Ford Day in Sydney and was rewarded with a trophy which was nice. With the front now sorted I decided to have a look at the rear which is way too stiff. My rear leafs have been fitted with an extra leaf (6 in total), so I had Carrolls remove the extra leaf and reset them. The ride is heaps better but unfortunately the height is not quite right. We’re probably 20mm too low still so they may come out again at some point for another adjustment.

Posted in General, Suspension | Tagged | Leave a comment

Teething problems

Decided to head out for a cruise on Sunday afternoon with the wife, got about a kilometre up the road, was pulling up at a set of lights and the clutch went to floor and the car shuddered to a stop stuck in second gear. I managed to wrangle it into first gear and fired it up on the starter in gear when the lights went green. Luckily I was able to pull it into a car park where a quick look under the bonnet along with the pool of hydraulic fluid confirmed that I had blown out the hydraulic clutch line. It was always sitting a bit close to the headers for my liking and even though I had wrapped it in heat shield it had somehow shifted to be touching the headers and had melted a small hole. Quick call to my towie and we were back home hosing out the engine bay. The offending hose was removed and the next day my father picked it up and we have had a nice braided hose made up about 10cm shorter than the original style hose. I’ve test fit it and it looks good so will fit it up next weekend. After parking the car up, the next day I noticed a petrol smell in the garage. I looked under the car and there was petrol on the ground. With the car jacked up I could see that my brad new tank is leaking from the fitting that the sender goes in. Of course I have a full tank of fuel. So I pulled off the fuel line and drained about 20l out which is enough to stop it leaking so next weekend the tank will also be coming out so that I can have someone properly solder up the outlet. Kind of glad I found that one early as leaking fuel is never a good thing.

Posted in Engine, Fuel System | Tagged , | Leave a comment

The Finish Line

Well I finally got the last couple of jobs done. I got the grille fit up, which wasn’t quite as easy as it should have been. With a new front valance there were no holes for the mounting pins so I had to figure these all out from photos and trial fitting. With everything bolted up I finally got the car outside where I cleaned the dust off it and gave it a few test drives across the driveway. The great news was that it drove straight and stopped. Stance is perfect at the back and hit my number on the button. The front is approx. 20mm too high but I’ll get to that later. With that sorted the car was booked in for an inspection. First drive to get the inspection was nerve wracking as it was the first time the car had seen the road in nearly 20 years. It drive really nicely and sailed through the inspection. Yay. So after nearly 5 years I was able to take the family on a few test drives around the block. Next steps will be to run in the engine, get a proper wheel alignment and just generally sort through the lots of little things that I either want to change or tidy up. Oh and a full detail and then show it off a bit.

Posted in Trim | Tagged , , | Leave a comment

One step forward two steps back

Thanks to the ineptitude of our state and federal governments I’m still stuck at home without any meaningful work. That’s good news for the Cortina as it continues to go together. The front windscreen has now been fitted with a new rubber from Rare Spares. This time around Mark got the moulds and window in. It’s a laminated windscreen from Glass for Classics. Fit I would say is average, the corners are nowhere near as nice as the original but hey it’s legal and it’s the best available at the moment.

My boot and bonnet are also back and have been fit up. The boot went on OK but the lock was not working properly with the cam not activating the latch. Weird because these were both parts that came off the car. More fettling to come. I got the interior in and finished. Unfortunately after getting everything together I struck a hurdle when the car started blowing fuses. I spent the morning chasing the issue and it was the wiper. It worked on the bench and worked in the car but putting the wipers on is giving it grief. This meant that the full interior that had been carefully installed had to come out so that the wiper could come out. Everything tested OK so I pulled it down for inspection. What I found was that everything was just really worn which is making it work way harder than it should and drawing more power. It’s nice to know the fuse box is doing its job. I have been able to source a reconditioned motor so hopefully that works.

I finished reconditioning my boot GT badge too, which has now been repainted in Humbrol 20. I’m really happy with the result. Fiddly but rewarding and much better than the repro badges that are available.

Posted in Bodywork, Interior, Trim | Tagged , , , , , , , | Leave a comment

Door Check Straps

I put the door check straps in today. It was a bit of an ordeal so I thought I would write a post in case I ever need to do it again or if someone else ever needs some advice. Firstly, original ones of these are a nightmare. Pretty much all of mine were broken and the ones that weren’t broke when we tried to refit them. I tried to find some good originals second hand or NOS but no luck. In the end I ordered a new set of repros from the Cortina Club which were painted up to match the car. When fitting I got a few scratches on the first one unfortunately as I worked out how best to squeeze them in but after that everything was good. I also had my locking straps re-plated and used new hardware so everything looks as good as new now. Instructions on the photos.

Posted in Bodywork | Tagged , , | Leave a comment

Interior Finished

The past week has seen the interior fitted up. First step was fitting the carpet. All of the crevices were filled with reproduction timber infills. I bought a 9 piece carpet set from Aldridge in the UK and picked up some underfelt from a local supplier. I cut pieces of underfelt and glued them to the back of the carpet, which was the painstakingly fit in the car. At the front I used carpet buttons but for the rear I glued it in so that it wouldn’t shift underfoot. Unfortunately I damaged one of the pieces so have ordered some extra carpet to repair that section as well as make some custom mats from the same carpet. Next I fit new inner sill boards and from inner kick panels. All with new hardware. I fit up a set of new scuff panels using the original scuff panels as a template to drill the holes. I was really impressed with the scuff panels. They were a perfect match for the originals. New pinchweld was installed before my recovered seats were put back in the car with my reconditioned seat belts. While I’m waiting for some new door trim clips to arrive, new plastic vapour barrier has been installed in the doors. I chose to cover just the holes so that if I need to fettle with the door handles I don’t need to pull all the plastic off, just the part I need.

Outside the car I’ve been tweaking the rear bumper…again. I think I’ve had it off and on about 50 times and still I need to work on it more. Under the bonnet I added some heat shield to a couple of hoses that were very close to the headers. All the trim is on and I’ve been tweaking the fit on some of it. The rear quarter die cast were a poor fit so I have been carefully heating them up and bending them to shape. The first one i didn’t heat and cracked the chrome so it will need to go back for another go in the future. I have also wheel aligned the car. This was the first time I’ve done this but it was relatively straightforward, especially with nice reconditioned parts that turn easily. Unfortunately at this point I worked out that the shifter wasn’t engaging reverse gear so out with half the interior and after a few times adjusting the shifter the car now goes backwards and forwards.

Posted in Interior, Trim | Tagged , , , | Leave a comment

Windows and Interior

Getting close to the business end now. I organised Mark from Top Mark to install the front and rear screens. The rear screen is the original glass which was in good condition. I cleaned and polished it and came up really good. The front glass is a new laminated screen purchased from Glass4Classics. The stainless moulding was polished by Jarrod at Concourse Moulding. The rubbers were purchased from the UK Cortina Club. The front moulding was very hard but seemed to fit the screen well. Unfortunately the mouldings would not hold in the rubber on the corners. Mark is a patient man and spent a lot fo time trying to get them to fit. In the end we decided that the mouldings needed tweaking to get the angles better aligned. I also decided to look for a softer rubber. We set the new screen against the car and it is only an average fit so the soft rubbers will help get it in. Unfortunately there are not any other options for new front glass so we will need to make it work.

Next was onto the rear screen. The rubber was not a great fit here. Baggy around the top and tight across the bottom. Mark spent a lot of time but eventually got the stainless trim in and the window slotted in nicely. The rubber is pretty average on the corners but it will do. In hindsight I regret purchasing the rubbers from the UK Cortina Club. I assumed that they would be high quality coming from the Home of the Mk1 Cortina but our local product appears superior in most options.

With the back window in I have been getting to work on the interior. It’s slow and fiddly. The rear parcel shelf has been installed and a new divider piece. I had to mask up and spray a number of small areas in satin black as well. I put my centre console back together as well. All the aluminium pieces have been polished, the console powder coated and I covered it in sound deadener before it was reupholstered by Brent Parker. It looks a million bucks. I put the brackets back in the car and test fit it all and everything looks first rate.

All new door rubbers were fit. This is the second go I had at the door rubbers as the first one I tried from the UK Cortina Club was a terrible fit. I purchased a set from Doug at the Rubbershop next which fit perfectly. These have nice mitred corners. I fit them using 3M Weatherstrip adhesive which seemed to work well.

Inside I’ve fit the glove box and radio blanking plate.

Posted in Bodywork, Interior | Tagged , , , , , | Leave a comment

Trim Fitting

Unfortunately NSW went into Covid Lockdown again at the end of June, which meant I was stood doiwn from work again. The good news is that I’ve been able to spend a bit of time on the Cortina. We’re now down to the last stuff, lots of fiddly bits with an hour here and there adding up to a lot of time. I have finished fitting up all of the side trim. Lots of holes to drill and lots of little nuts to do up with my arm wedged up inside a door frame. The result though is spectacular and the trims are laser straight and all fit snug against the car. Best of all, if I ever need to take them off it’s relatively easy. I also fit up all of the window moulds and gutter trims. These were not so easy and unfortunately I got quite a few little dents in what were perfectly straight polished trims. Very frustrating but they fit tight, there was little I could do and they are very fragile. I also finished installing the last two side windows. The passenger window is very tight in the new rubbers. Hopefully it will settle a bit and start to go up and down a bit easier. The vent windows also need to be carefully opened and closed in the new rubbers otherwise they go metal on metal.

I managed to source a perfect front bumper that had been chromed years ago and then put in storage. It’s a perfect fit. I have new stainless bumpers but I think I will sell these as the originals are so much nicer. The rear bumper still needs a bit of work on one side. I sourced new rear bumper irons but my old ones are still better and I have manipulated them to get a nice tight fit to the car.

The rear vents have also been installed. I had dismantled these and had the outside re-chromed. The inside was blasted and painted in a colour that closely resembled the unfinished original look. From factory they were held together by locating lugs that were peened over on top. As these had been ground back, to put them back together I used epoxy over the top of the lugs. They were a tight fit anyway so this should hold nicely. One of the downsides of getting things re chromed is that the threads in the die cast items can get damaged. After my troubles with door handles I checked everything thoroughly this time and helicoiled a number of threads before using new bolts. I made up a new gasket to fit them up but in the end I decided to use some window gasket material that I had to provide a nice watertight seal.

I have also fit up the GT badges and Ford badge. Because the lower section of my front guard had been replaced I had to drill new holes to fit the Ford badge. Another friendly Cortina owner provided the original measurements and after checking against my photos the holes were drilled and it fit. I used starlock nuts to hold them on but I might also add a small dab of silicon.

I fit up some reproduction GT badges for the back. These will do for now but I have a stack of original badges that I am just playing with to work out the best way to refurbish them. When I have that sorted I will re chrome two originals as they are much much nicer.

Posted in Trim, Uncategorized | Tagged , , , , | Leave a comment