Greg's Cortina Mk1 GT Build
Restoring a 1966 Ford Cortina Mk1 GT
recent posts
categories
- Bodywork (19)
- Brakes (6)
- Car Show (2)
- Diff (2)
- Electrical (5)
- Engine (7)
- Exhaust (1)
- Fuel System (2)
- General (2)
- In the News (1)
- Interior (18)
- Parts (6)
- Steering (2)
- Suspension (10)
- Trim (8)
- Uncategorized (13)
- Wheels (2)
Build Diary
Every post from the restoration and beyond, newest first. Search the diary or browse below.
-
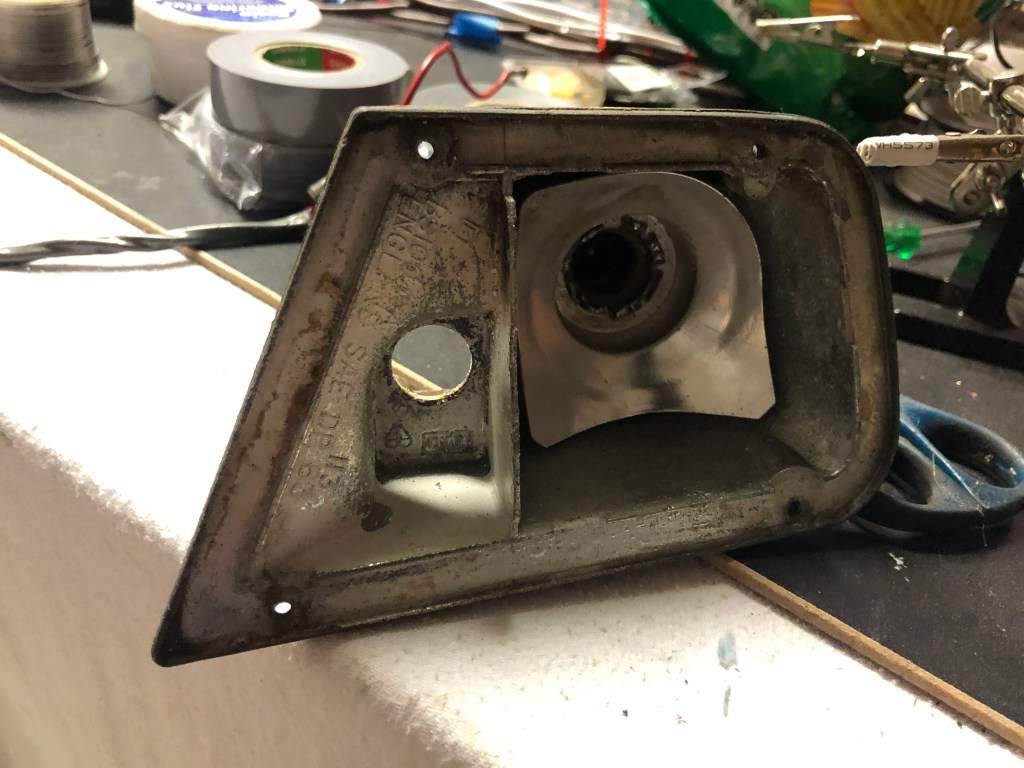
Re-wiring Part 3 – Indicators and test fitting loom
When I got round to my indicators I could see that they were in pretty poor shape. One of the indicators had a damaged globe holder and both of them had extremely perished rubber caps at the back, with wires that had been butchered over the years. I came to the conclusion that the best…
Posted in Electrical -
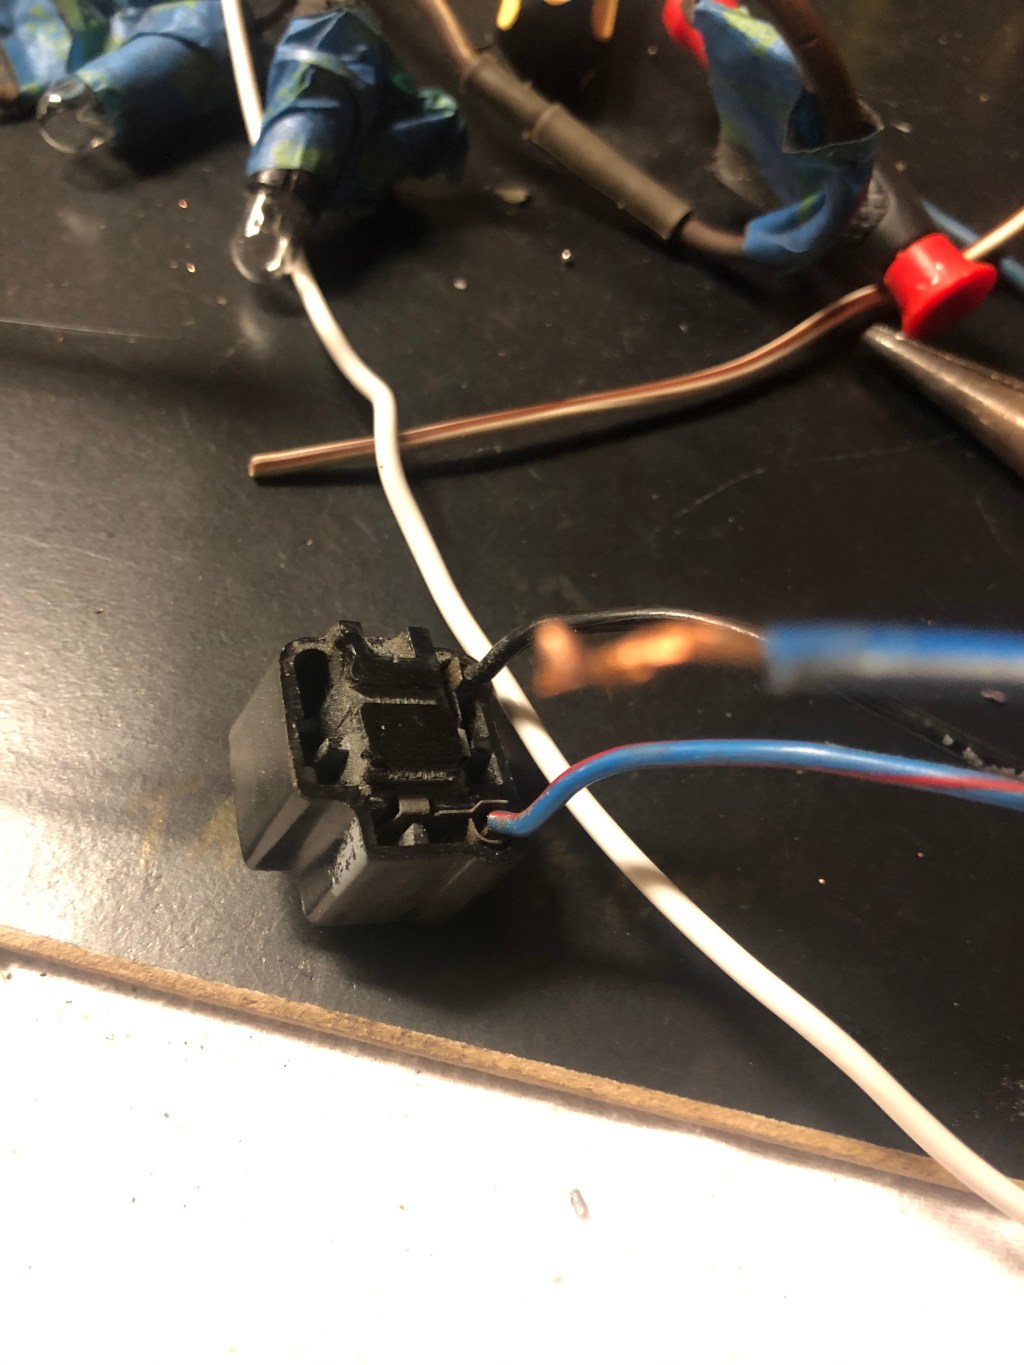
Re-wiring Part 2 Headlight Pigtails
I made up new pigtails for the front headlights. The old ones were non original but in pretty good condition. I wanted to run heavier 30amp cable so I had a look and worked out that I could easily retain the three pronged plugs and build new pigtails from them. The original connectors were stripped…
Posted in Electrical -
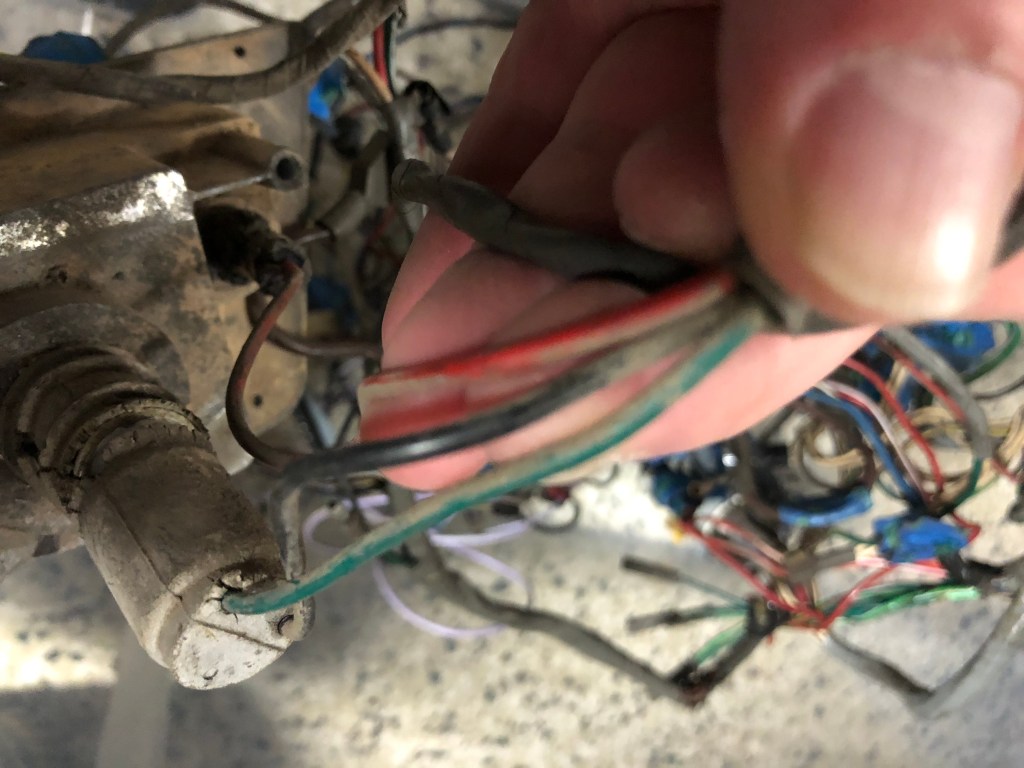
Re-wiring – Part 1
Haven’t updated in a while but have been putting a lot of time into re-wiring the car. Sometime in its life the rear wiring loom had been replaced with 5 core trailer wire. Did the job but I decided to build a new rear loom with the factory trace colours (unfortunately forgot to take photos).…
Posted in Electrical -
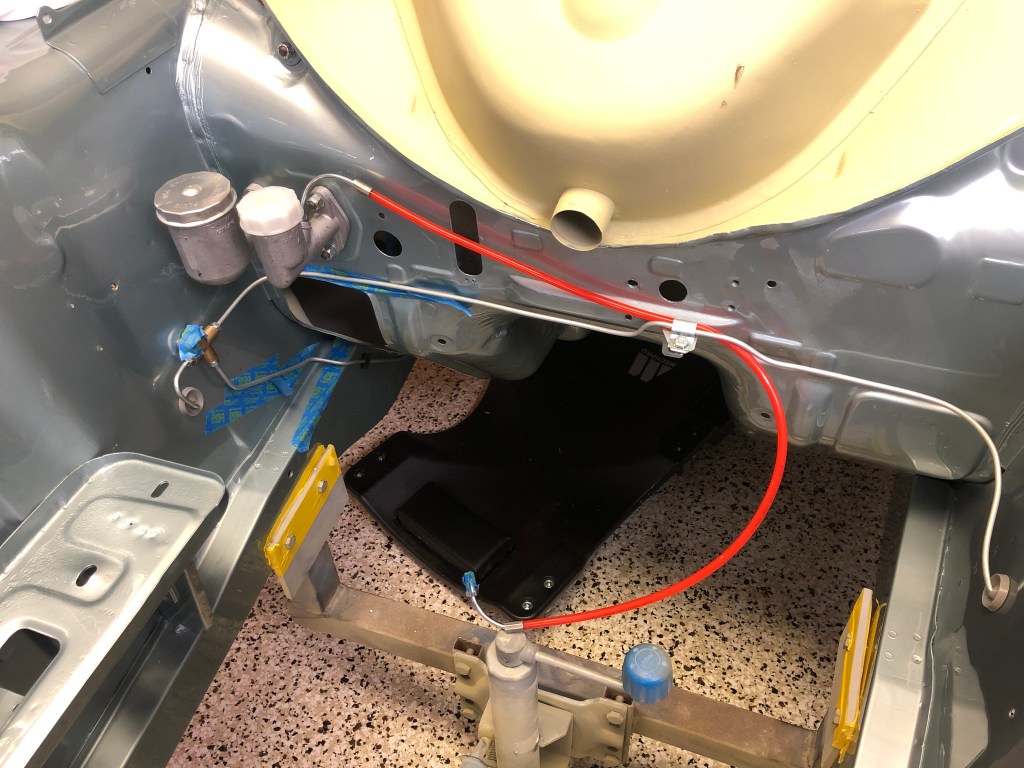
Brake lines
It probably doesn’t look like much but this was the start of me putting the car back together and I absolutely loved it. After a couple of years of accumulating and reconditioning parts it was super exciting to finally see the pile start to go down. It’s also when the careful cataloguing should pay off.…
Posted in Brakes -
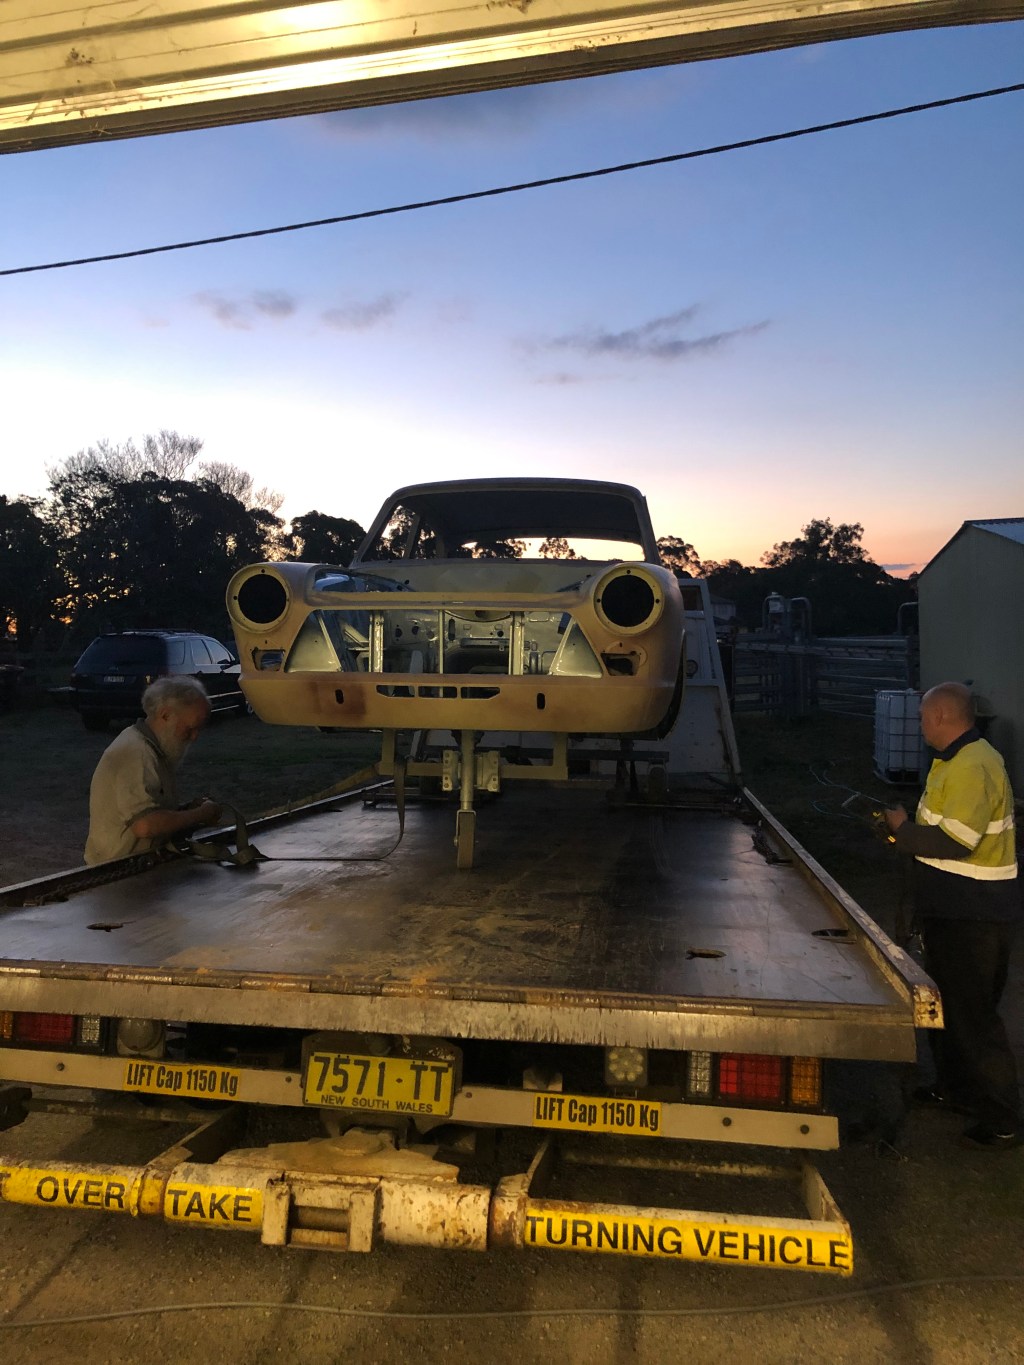
Home again
The Cortina is now home and ready to go back together. The car has now been painted underneath in satin black and there is colour in the engine bay, interior and boot. The paint is amazing, Warwick is a perfectionist. Lots of masking and back masking ensures there’s not a speck of overspray. I chose…
Posted in Bodywork -
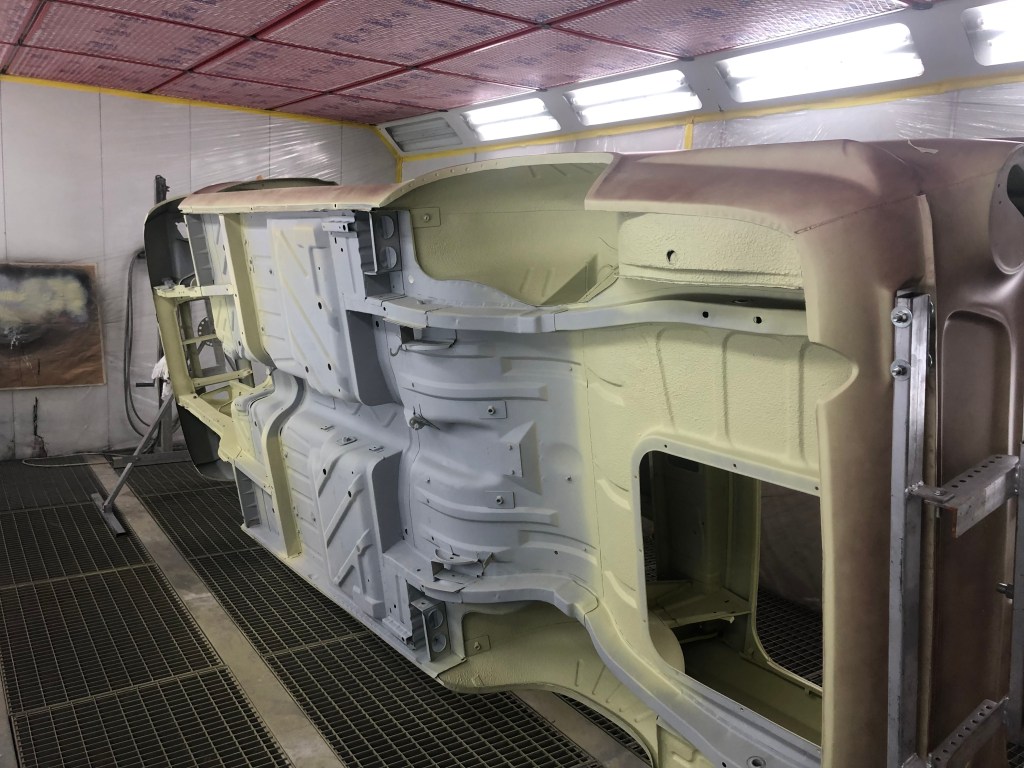
Nearly ready for paint
Warwick has been busy getting the car ready for paint. These photos were taken over a couple of visits. The car has been primed and block sanded. Underneath has been primed and painted in stone chip around the arches and under the boot and the underside has been painted in satin black. Warwick has also…
Posted in Bodywork -
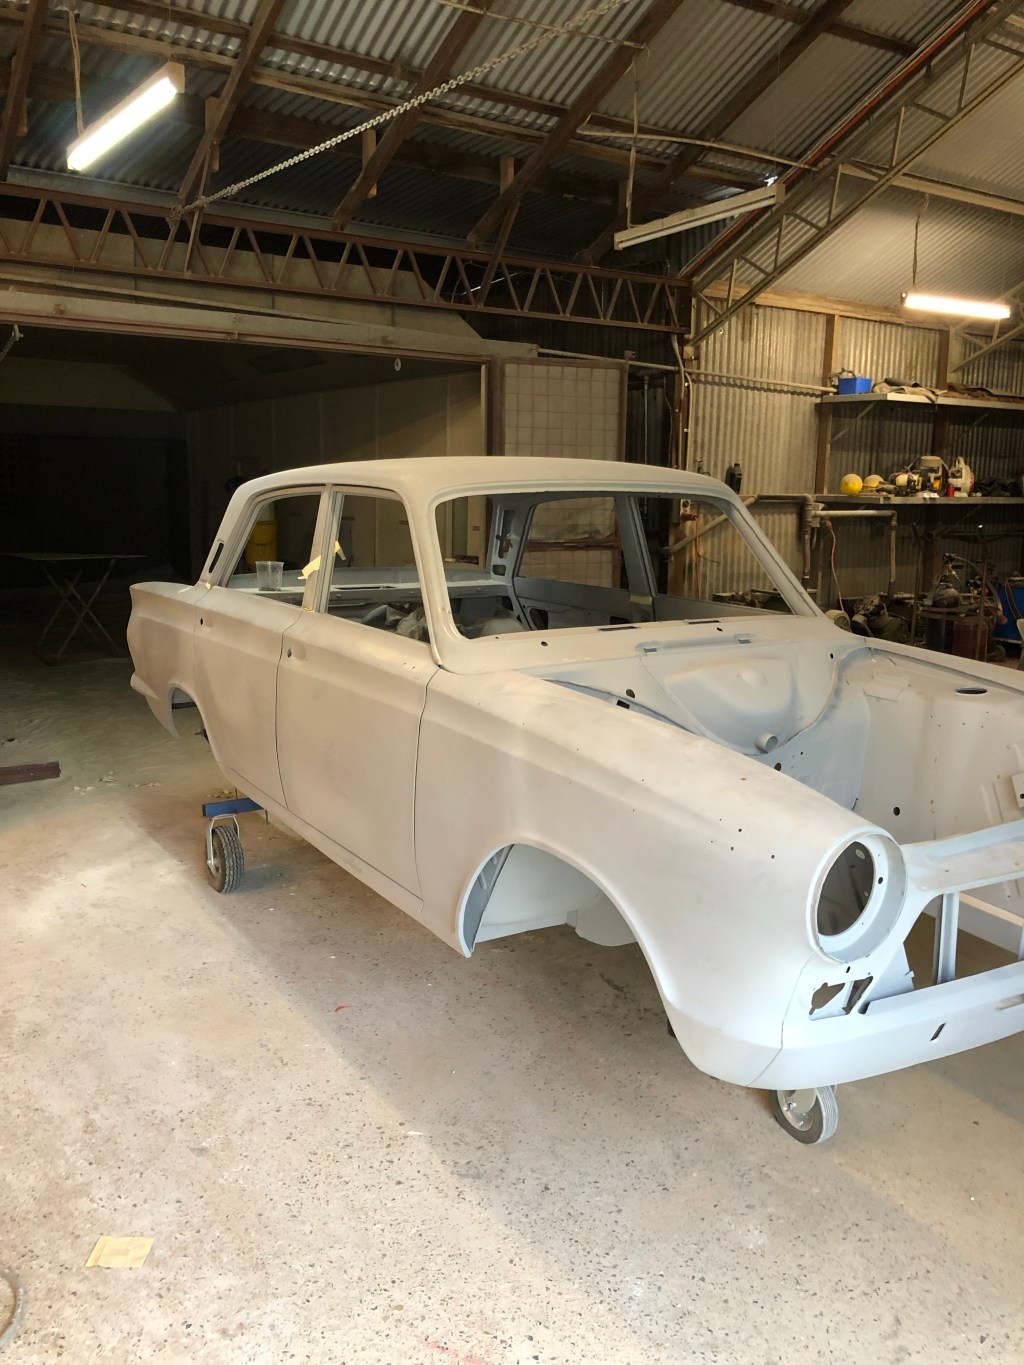
Bodywork – Car Gapped
Lots of progress over the last couple of months now as Warwick finished up a long term project that was in front of mine. All the panels have now been gapped. Lining all the doors up was a bit of an ordeal as they don’t fit perfectly across the top and bottom. I suspect they…
Posted in Bodywork -
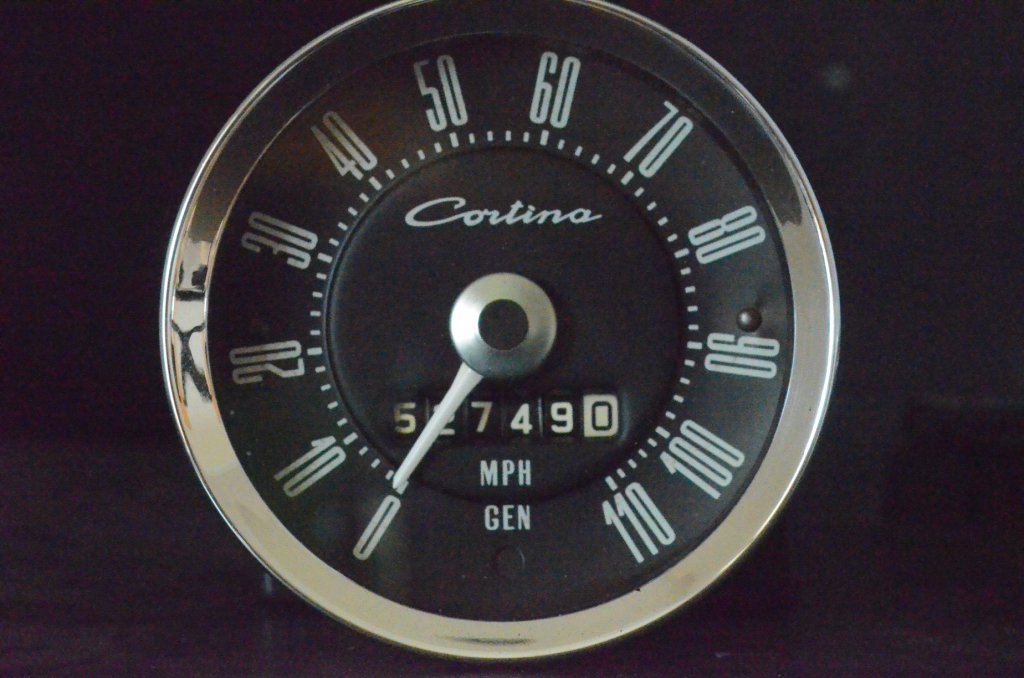
Gauges
A while ago I sent my gauges off to Geoff at Classic Restoration. I needed the tacho converted to negative earth as I am running electronic ignition and want to add a hidden 12 volt plug. At the same time I thought it would be good to have Geoff look at the rest of the…
-
Handbrake
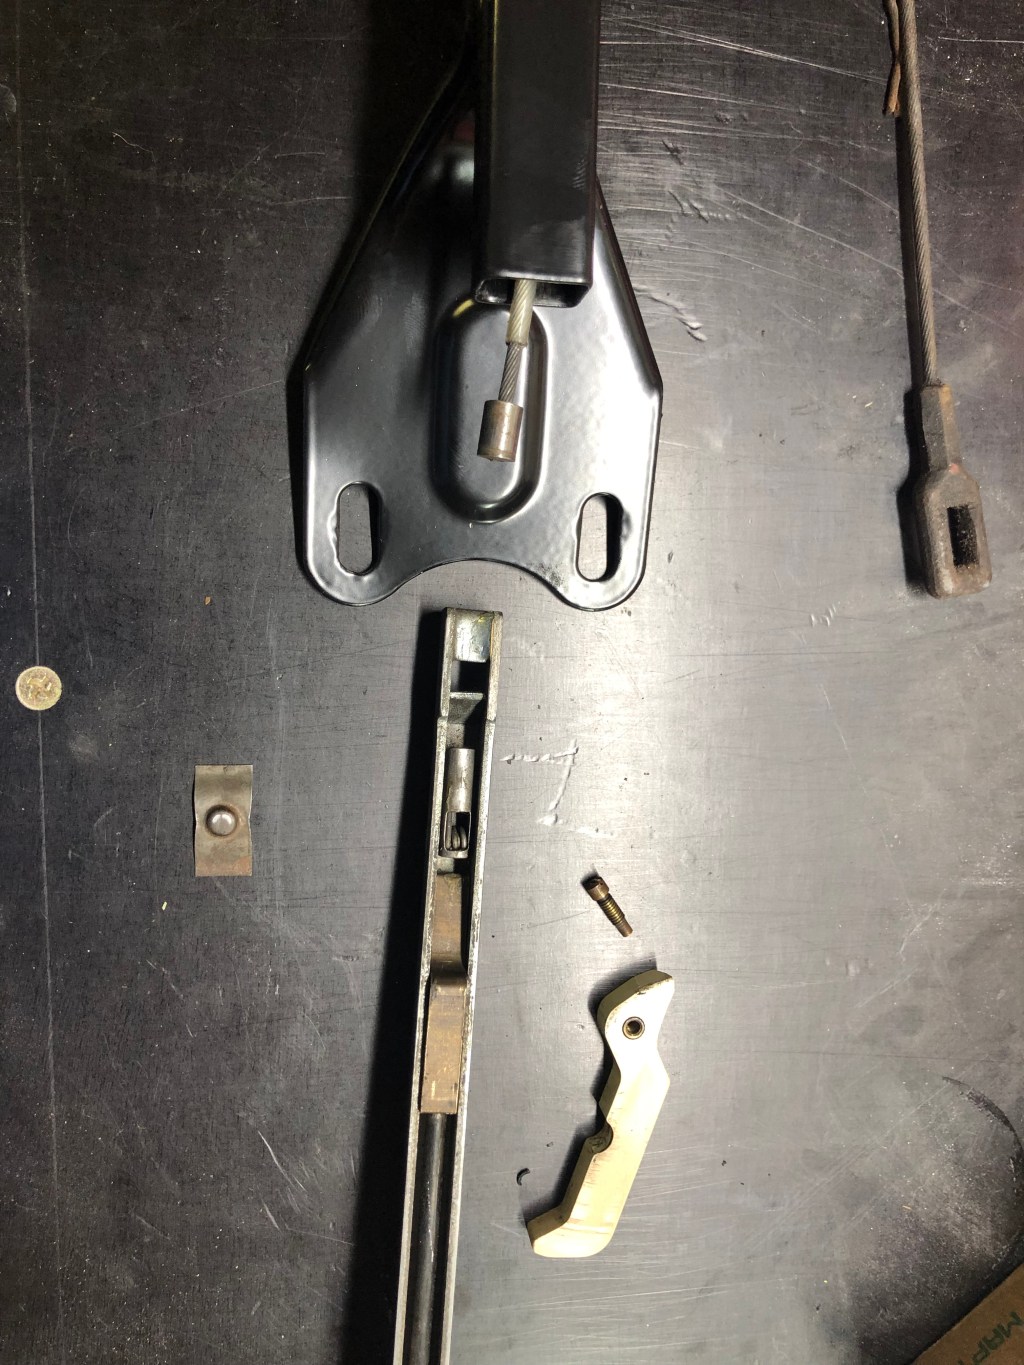
It’s amazing how much time you can spend getting the little things right. Some time ago I had pulled apart my handbrake mechanism and had the housing sandblasted and powder coated. When I went to put it back together again I realised that the original mechanism was broken. So I sourced another under dash handbrake.…
-
Diff & Brakes
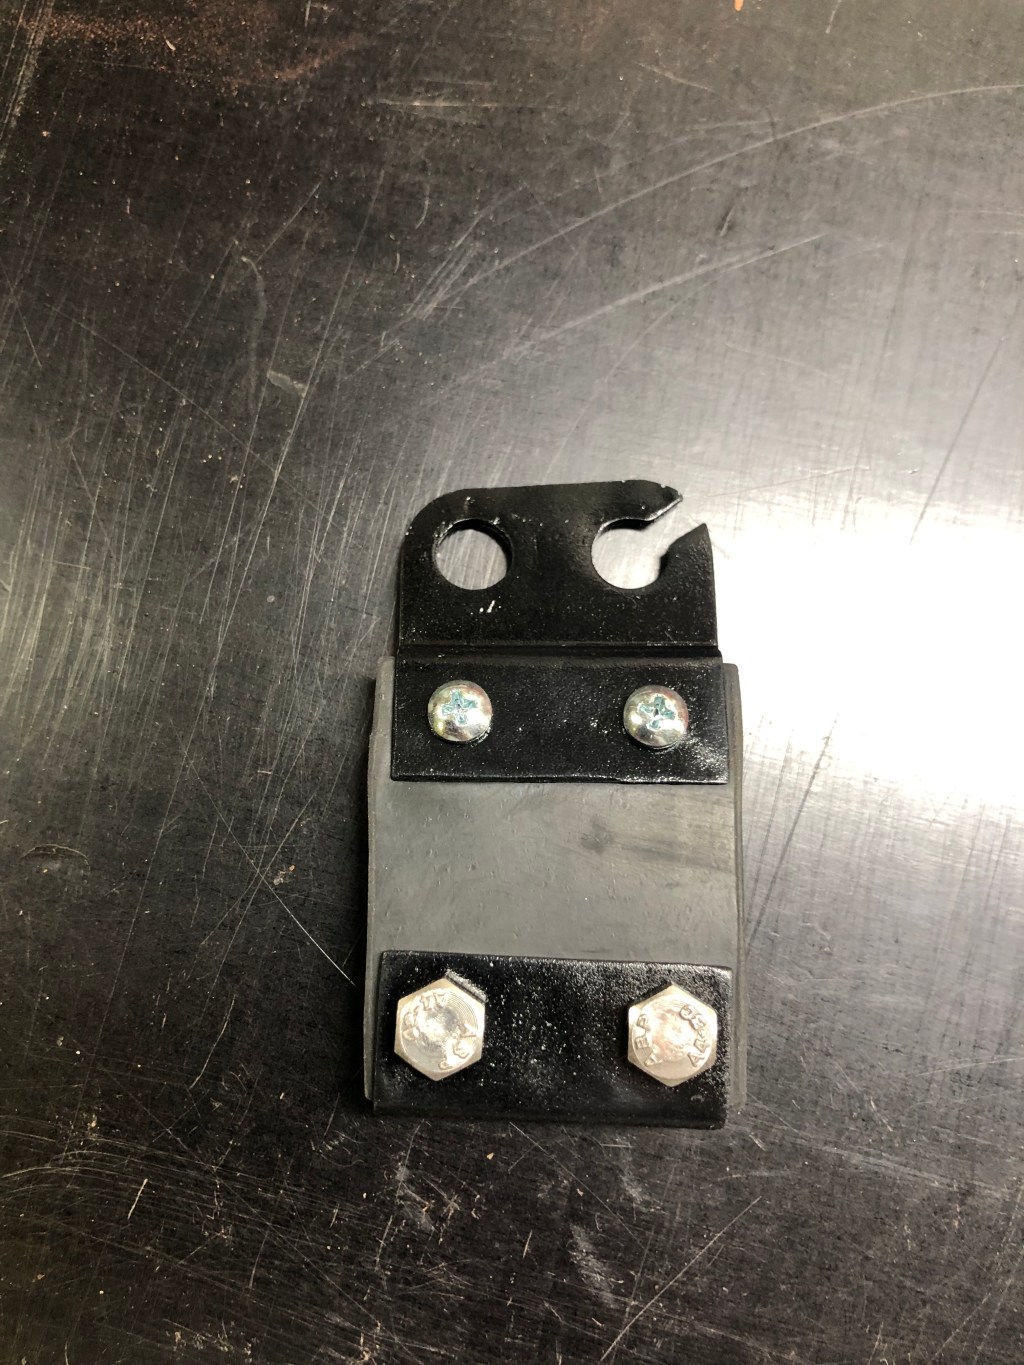
Have been cracking on with lots of little jobs in preparation for getting the car back soon. Completed building up the diff. Fitted up a new bias strap for the rear handbrake mechanism. The old one was pretty much stuffed so I drilled out the rivets and disassembled the brackets on each end. Sanded them…
 Greg's Cortina Mk1 GT Build